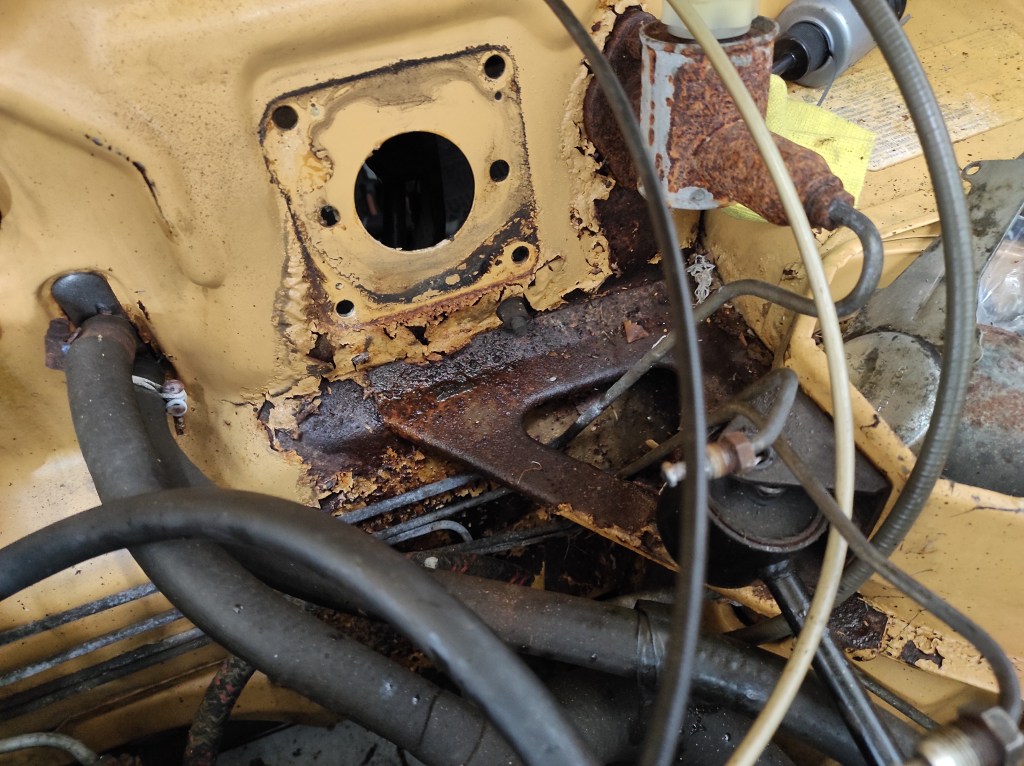
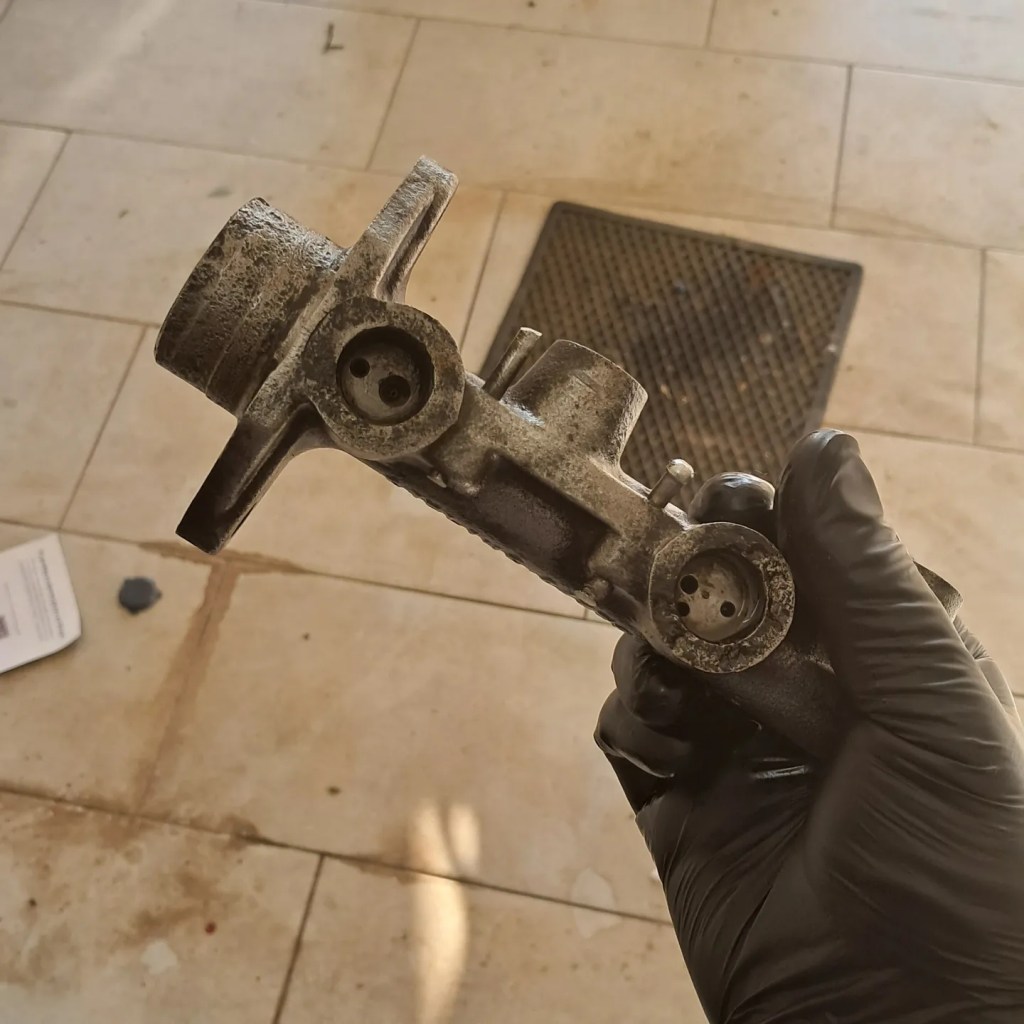
Like almost everything else, Agnetha’s brake pedal was solid when she arrived nearly 1 year ago. The master cylinder was heavily corroded and I thought it might not be saveable. There were a handful of different types of brake master cylinders used in Allegros over the years. Agnetha’s is, naturally, the rarest of them. It’s a tandem cylinder by Girling (so it controls two separate brake circuits: Built-in redundancy! Safety!) and replacements or reconditioned units are usually very expensive, but seal kits are available for reasonable prices so I wanted to see if I could rebuild it.
Earlier in the year I managed to remove the cylinder from the servo and disconnect the brake lines but couldn’t for the life of me remove the pistons (there are two: One for each circuit). The Haynes manual suggests shaking the body until the pistons come out, or blasting compressed air through the rear port. None of this worked of course, after 34 years of corrosion and coagulation of the hydraulic fluid, and on to the back-burner it went.
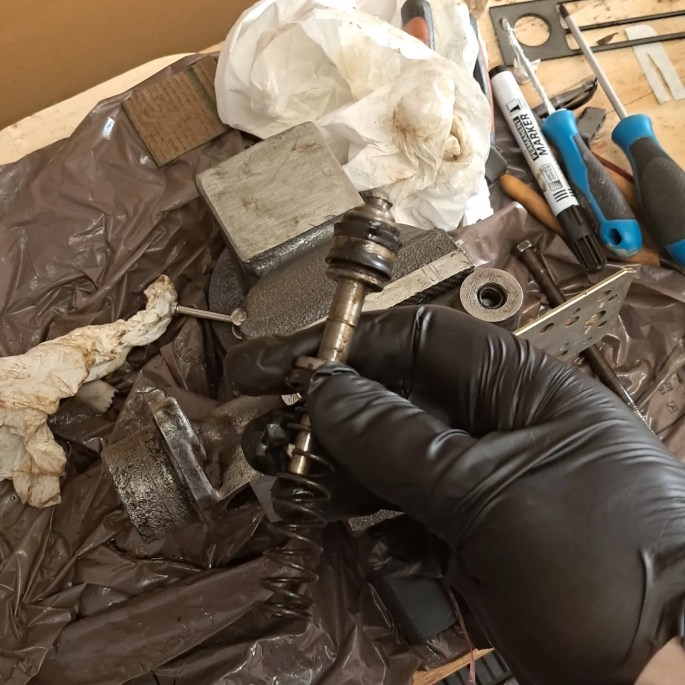
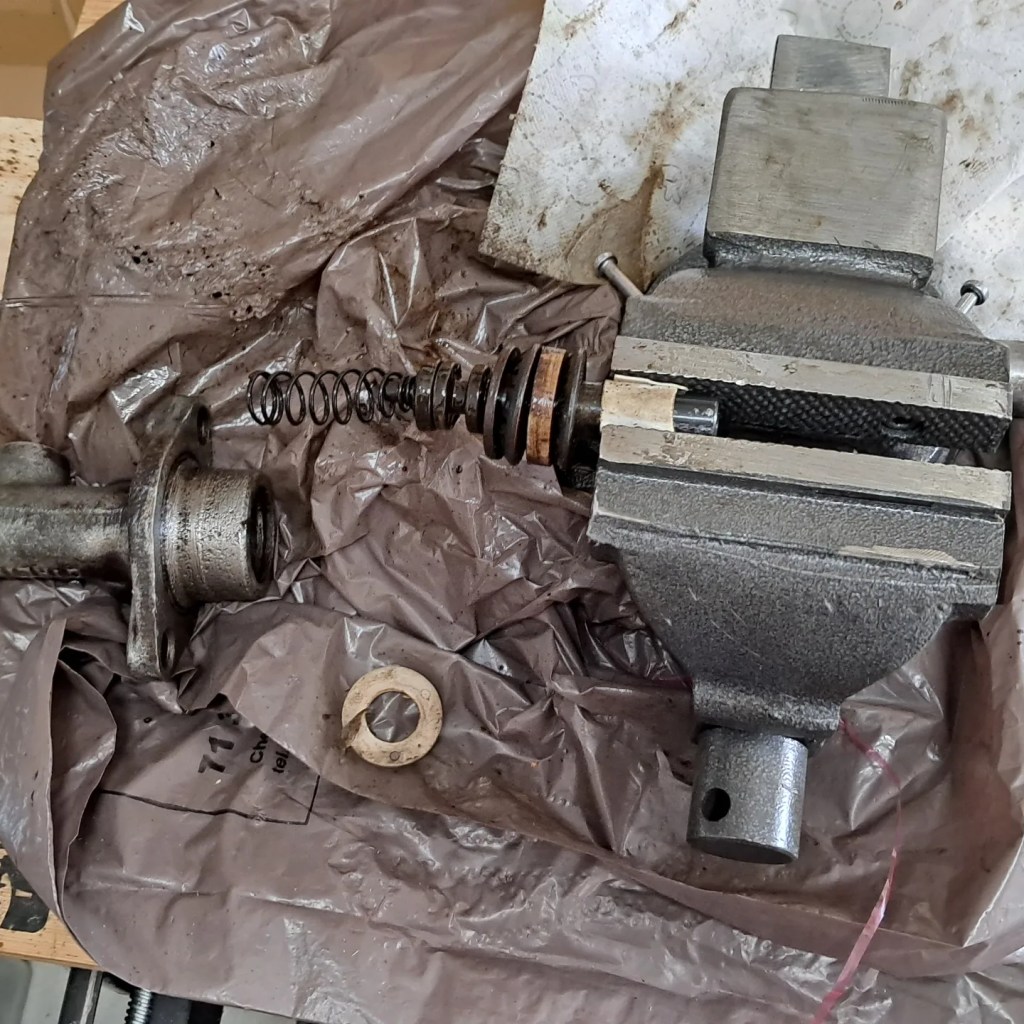
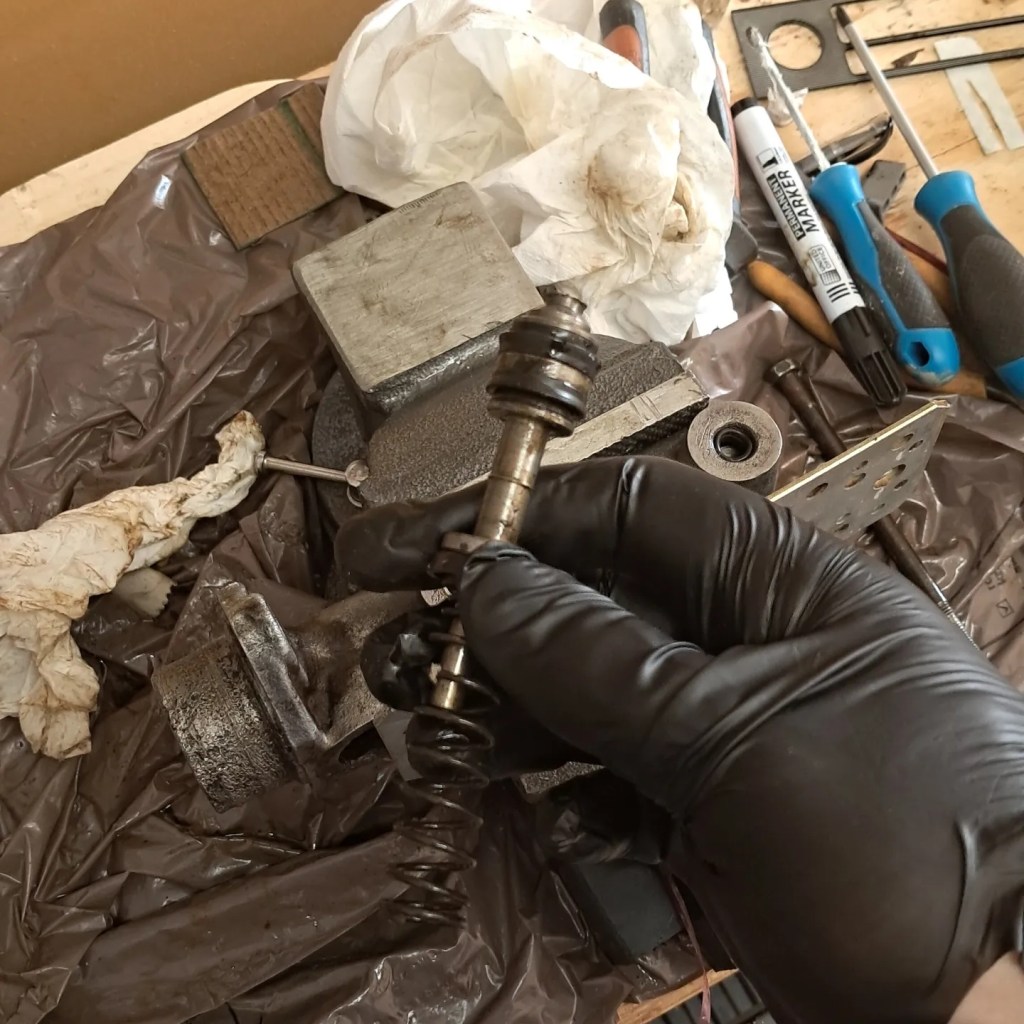
Recently I decided to have another go. First of all I filled the cylinder with WD40 and left it for several weeks, periodically topping it up. The piston would still not shift however. I ended up clamping the end of the piston in a vice and then, using part of an old jackstand, hammering the body off the piston with considerable violence for about an hour. Eventually it started to move but it needing beating to death the whole way.
That left the remaining piston. I was able to remove it explosively by sealing up all the other ports and shooting 8 bar of compressed air into the rear port. That made a hell of a bang and for a moment I couldn’t find the piston anywhere on the garage – it had landed in a shopping bag on the other side of the room!
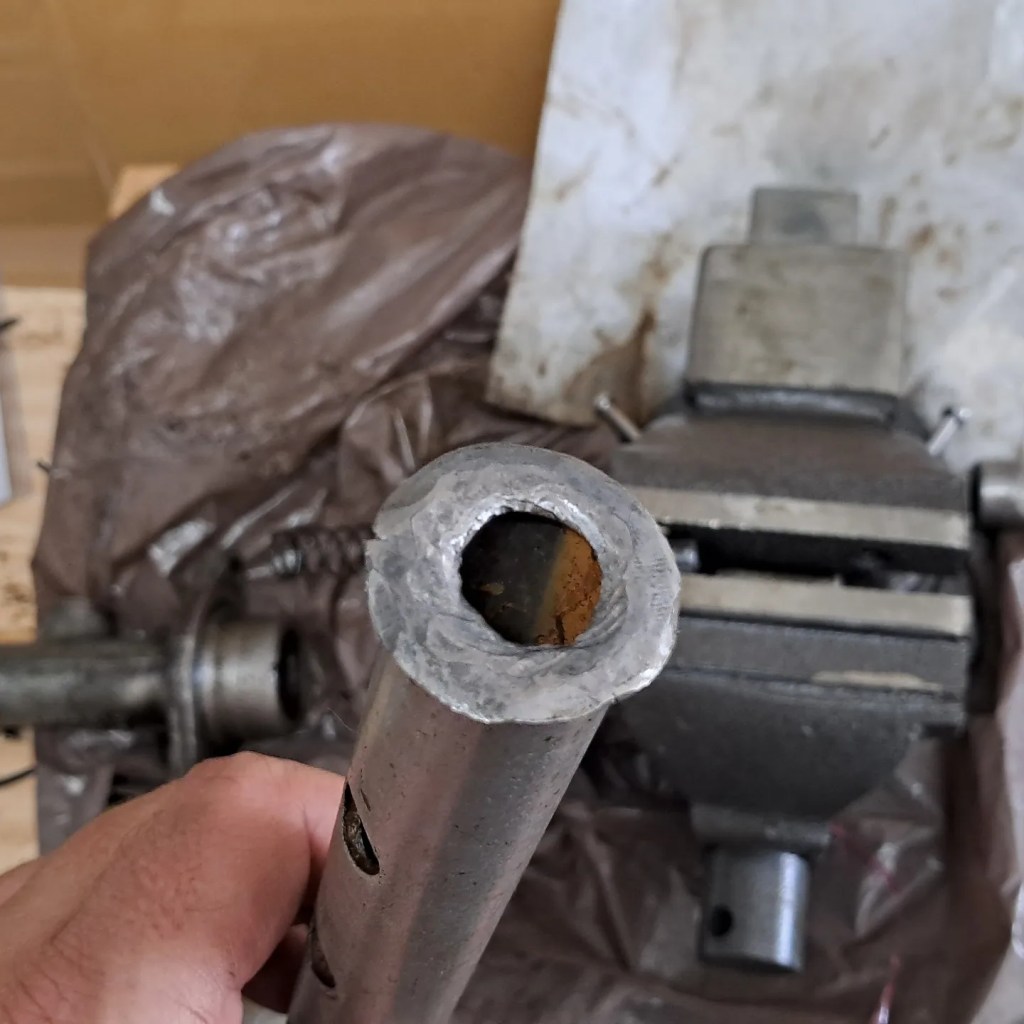
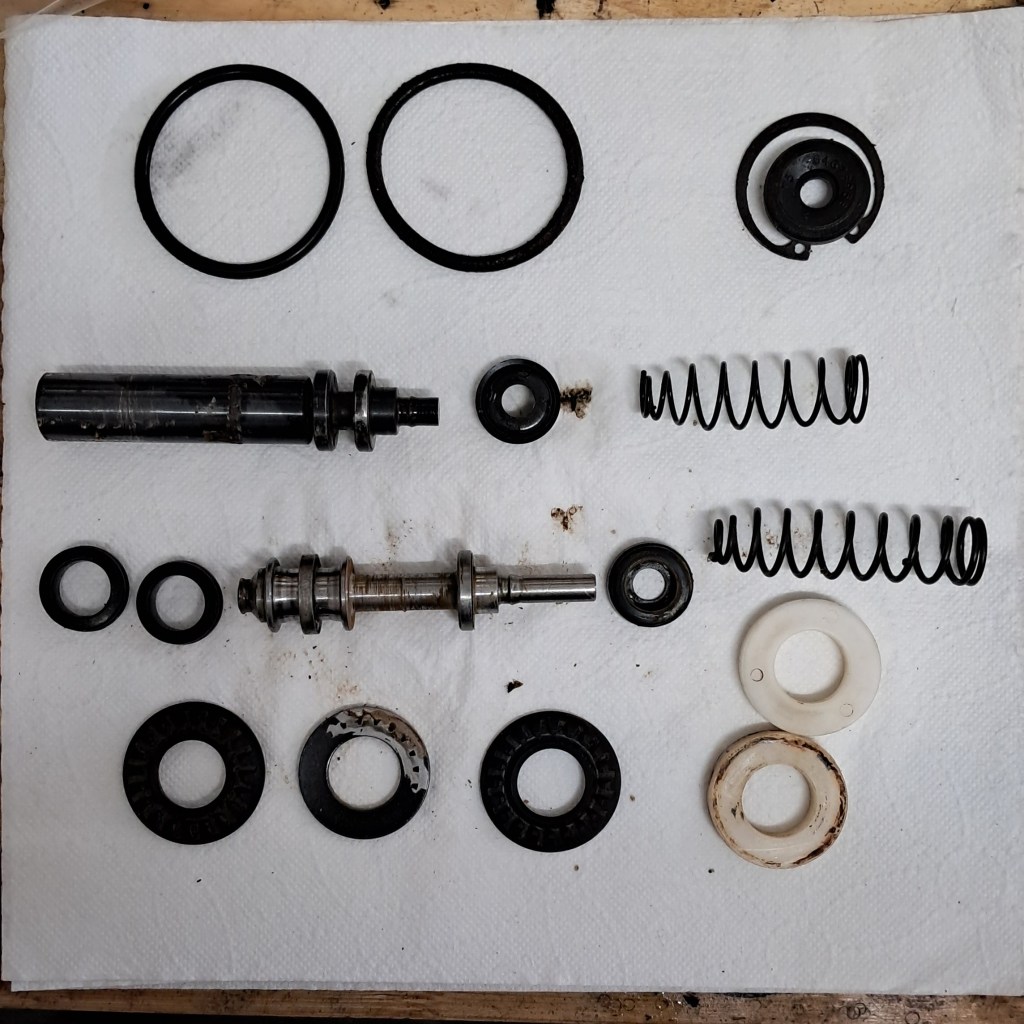
Having got all the guts out I was able to clean the rust and check the seals. Some seals were good, others were not, so best to assume they’re all bust. The bore of the cylinder looks fine though – I think the gunk saved it. With a rebuild it should be good for another 122 thousand km, hopefully!
Oops, 3 months have passed without an update so here’s a rushed and hastily written brain-dump of the latest developments.
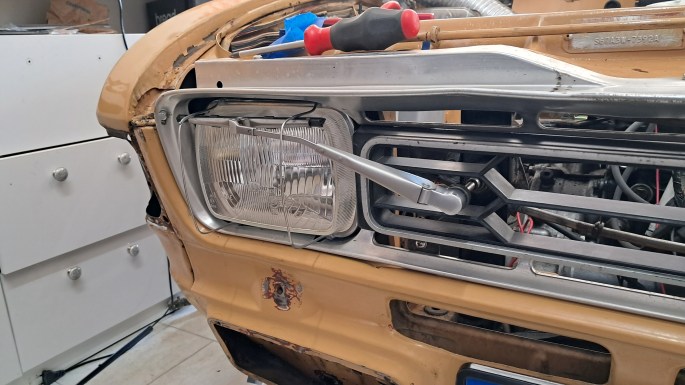
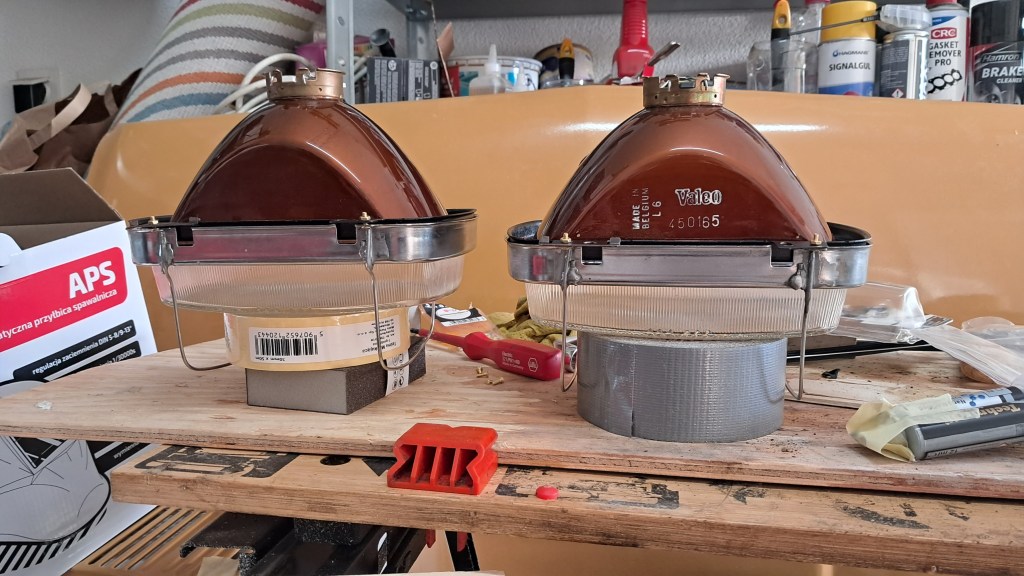
For of all – the headlight wipers are working! After replacing the original, heavily corroded headlight clusters with new old-stock units from Ciebié I decided to tackle the Allegro’s “party piece”. There’s nothing special about the mechanism: Just the usual Lucas windscreen motor drive used on probably all BL cars from the era. The gearbox has a shorter throw than on the windscreen wiper drive and that’s about it. As I found out though, the throw still isn’t quite short enough…
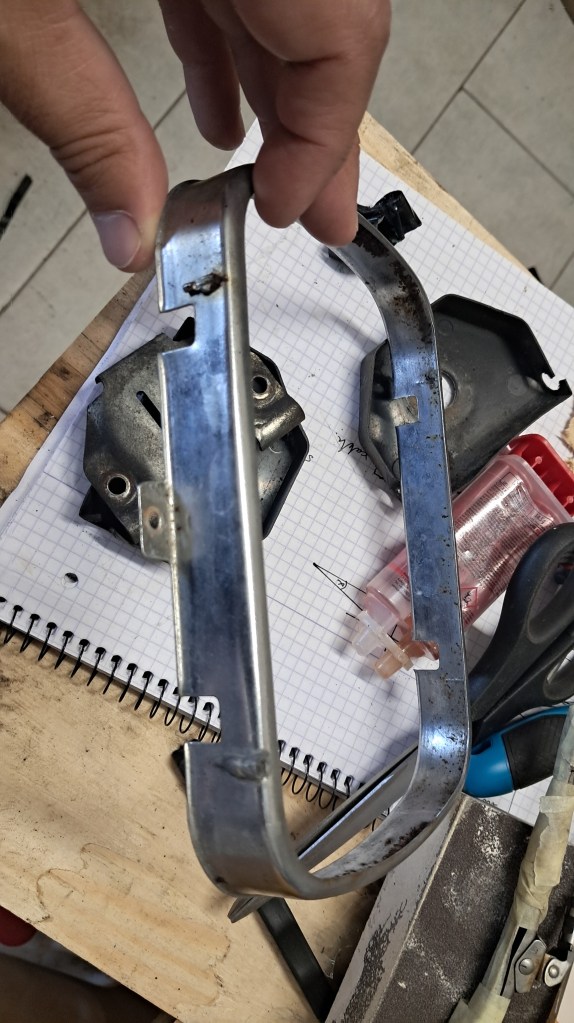
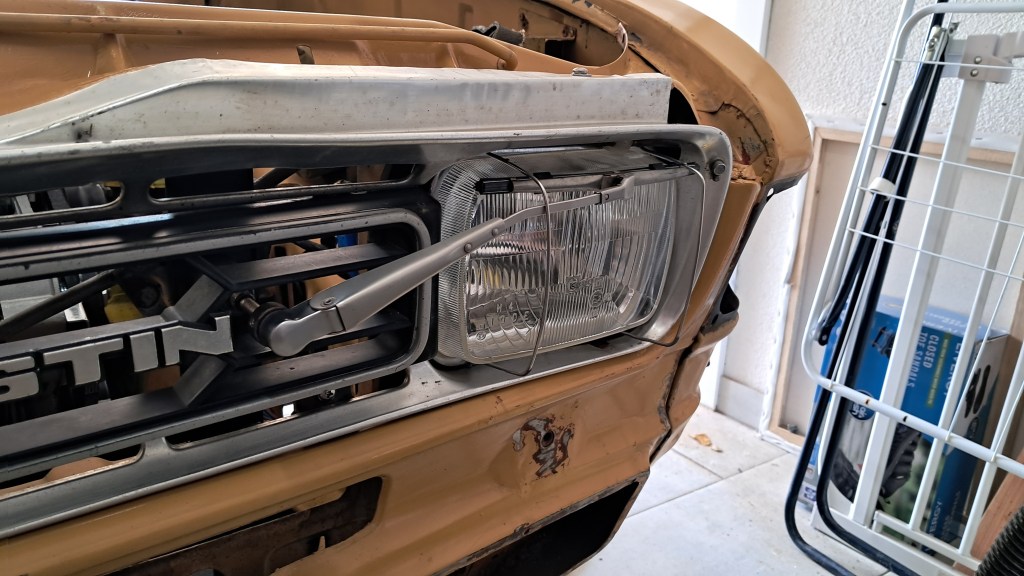
The problem was no matter how I adjusted the wiper arms, they always swept too far and pinged off the surface of the headlight. After looking at photos of other Swedish Allegros I noticed something missing from Agnetha: Each headlight should have a kind of “cope cage” around it to hold the wiper in place and stop it pinging off! So I had a good look at the old headlight units and the trim section that surrounds it; sure enough on the trim section there were the remains of steel wire that had once been welded there. It seems the entire headlight wiper assembly is a hack that was thrown together at the last minute to make the Allegro compliant with Sweden’s then-new regulations requiring headlight wipers on all new cars.
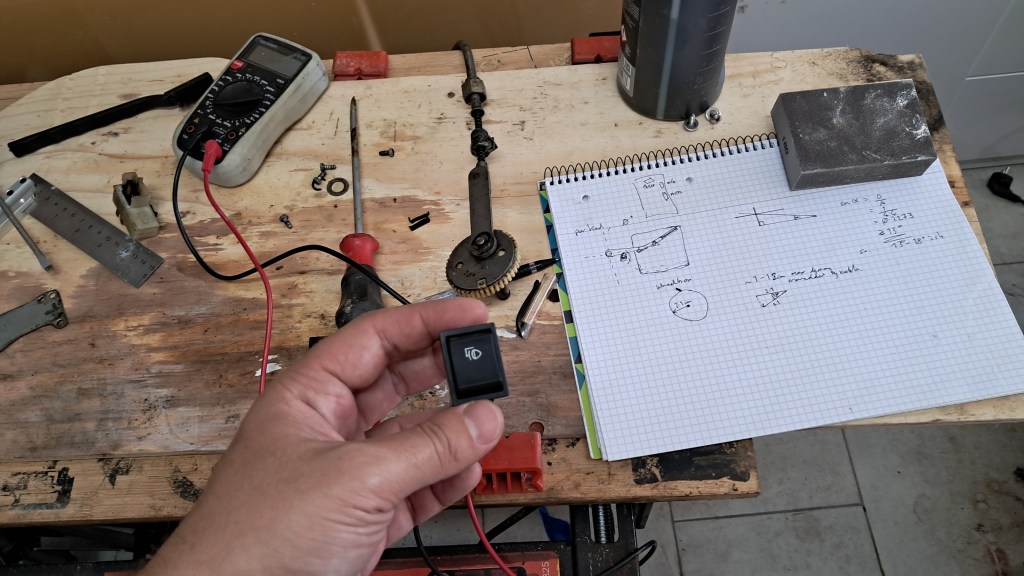
I ordered a length of stainless steel wire and fabricated (i.e. bent) 4 sections to attach to the headlight surround. There are no drawings for this (and probably never were) so it was all guesswork. As for attaching to the surround I used a kind of epoxy resin with aluminium particles – not sure if it really adds strength but it looks metallic at least. The next obstacle was the little Lucas switch the sits next to the windscreen wiper switch under the dash. I’ve learned to respect Lucas components and most of them tend to be over-engineered and generally indestructible, but their rocker switches can get in the sea. Horrible things. The switch is kind-of working now but I will have to ask the spares club for a new one to use in the long-term.
With everything back in place I tested it once more and – while it’s painful to see the entire mechanism strain each time the cope-cages catch the wiper blades – I was quite chuffed to see it working again, although I wouldn’t trust it in battle. It’s good enough for showing off at car meets though.
I think the really interesting part about this is that it gives us a tiny insight into how BL worked in those days. Given all their other problems, that they went to all this trouble to sell maybe a few hundred cars to a country that had the likes of Volvo and Saab as a domestic manufacturer tells us a lot about how BL was being pulled in all sorts of random directions by various forces, internal and external. It seems absolutely bonkers now that they would bother at all.
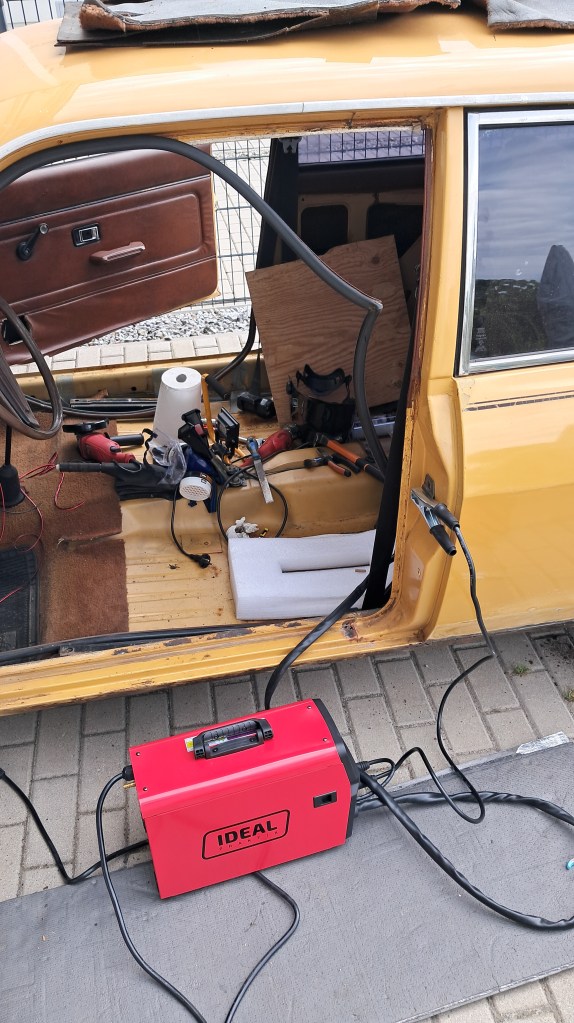
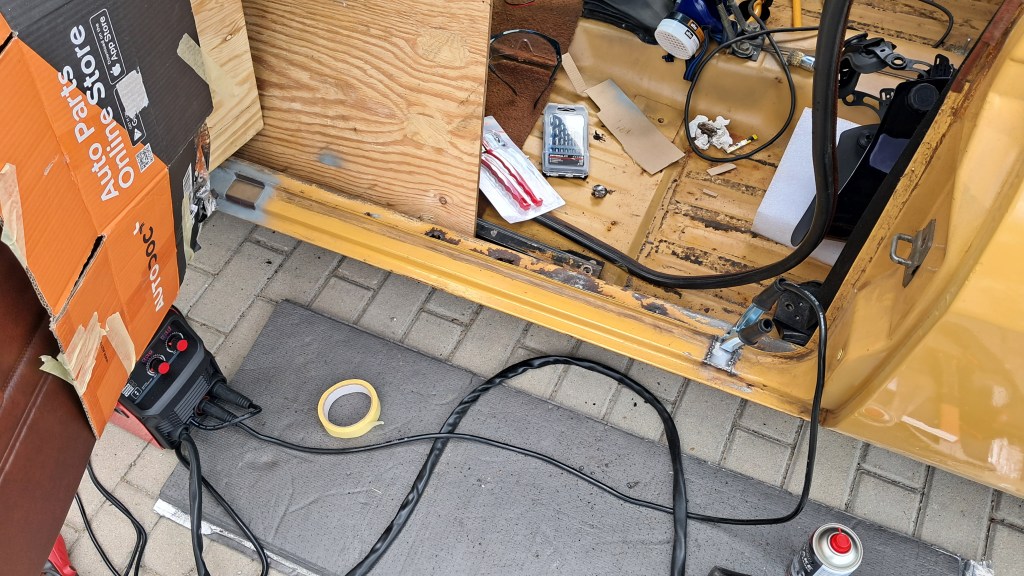
The other big news is – true to form – I’ve gone back on previous statements about not wanting to do the welding and bought myself a MIG/fluxcore starter pack. Fluxcore makes sense because I have to weld outside so shielding gas isn’t going to be very effective. The welds are definitely not beautiful but that’s more to do with my complete lack of skill than bad equipment. Besides, all it takes is to keep the vehicle inspector and his little hammer happy. This starter pack from Ideal is fantastic and everything worked right out of the box. The only extra kit I bought was an automatic welding helmet which is also a dream to work with.
So I had a couple of weeks removing the rot (which wasn’t much, all things considered) and replacing it with shiny new sheet steel. Most of the inside of the body is now solid again. The outer sills, rear arches and a tiny part of the floor pan still need to be welded but this requires going underneath the car, so that’s on the back-burner.
Having got this far I’ve been doing smaller jobs and trying to figure out if/how the hydraulics can start to work again. None of this was particularly interesting so here’s a bullet-point summary:
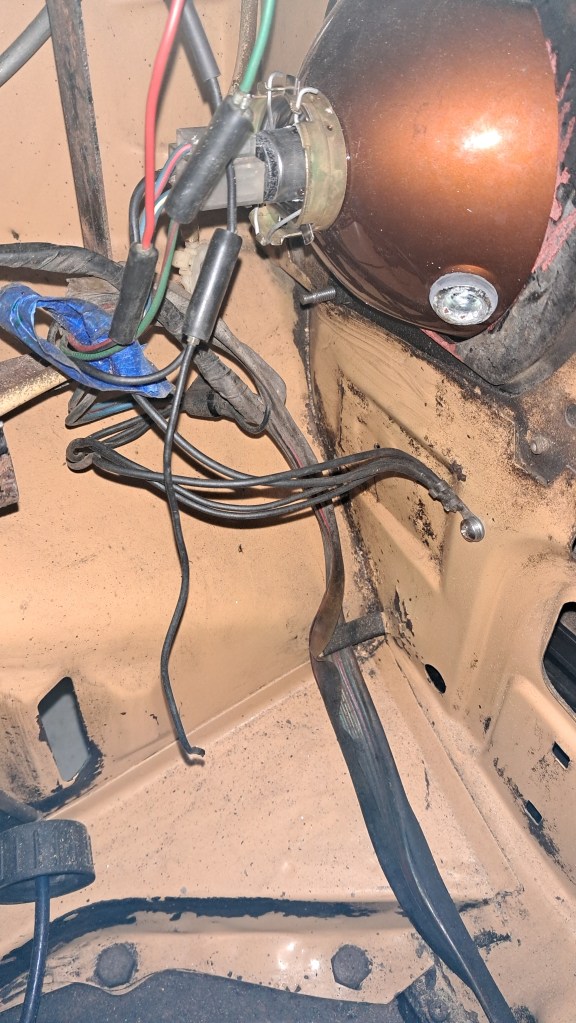
Fixed the front-left lighting earth point in the engine bay.
Replaced the corroded bulb holders in the indicate/sidelight clusters.
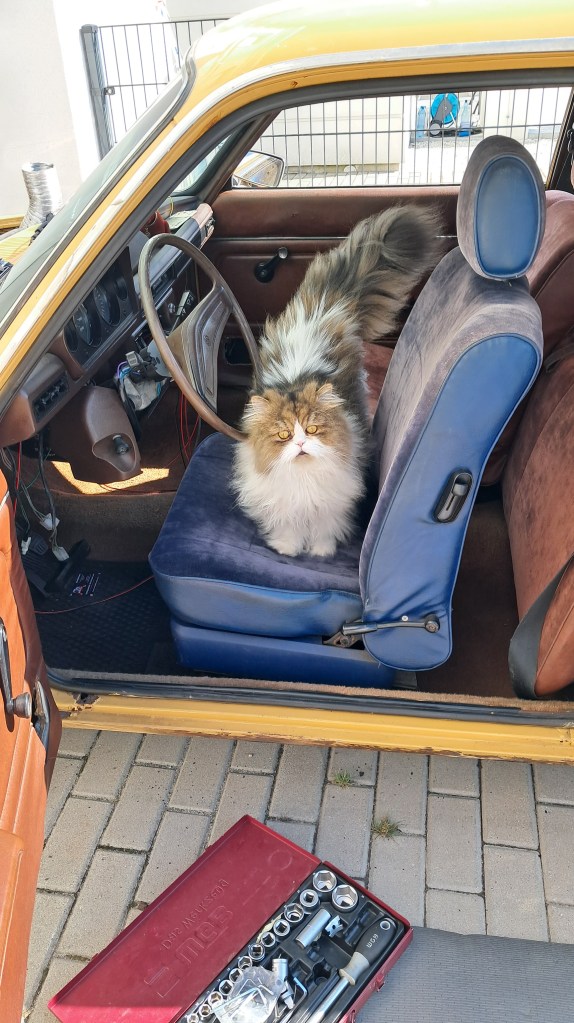
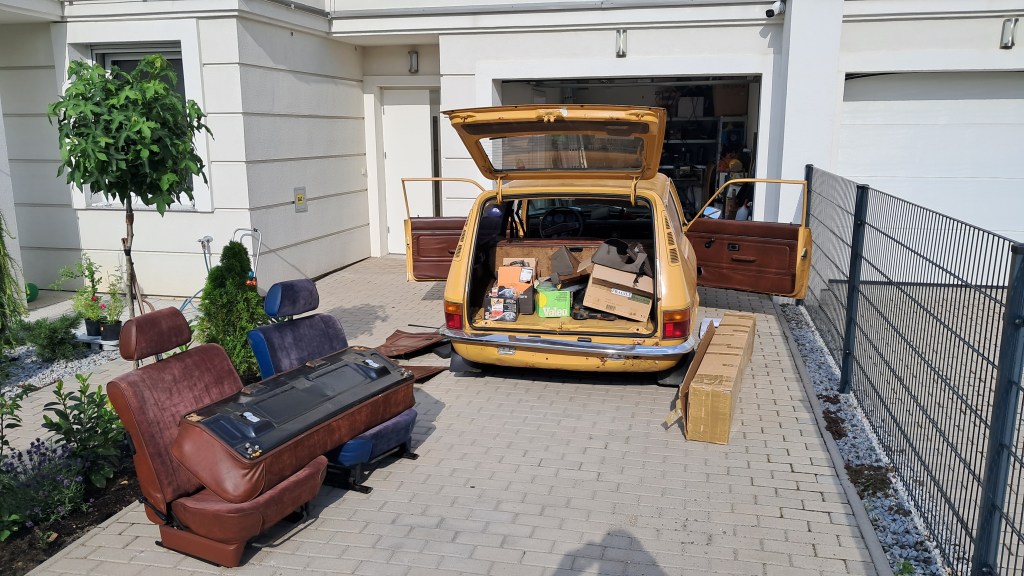
Freed-up the seized adjustment rails on both the driver and passenger seats.
Tested the radiator for leaks with supermarket cola – positive result: It leaks!
Tested the electric radiator fan – it doesn’t work but probably just needs cleaning/new bushes.
Sourced a Land Rover clutch pump to replaced the destroyed Girling pump.
Freed-up and dismantled the brake pump – it should live again with a clean and rebuild.
Got the handbrake working – really easy, only needed adjusting.
Right now I’m pressing ahead with the hydraulics. It still lacks cooling, but given a working clutch, a new radiator, thermostat and some pipework she could finally start to move under her own power. That would really be something.