Having put the old girl back together (minus brakes and displacers!) I made a video about starting her up again with the newly repaired fuel system. Previously she had only been able to run from a plastic fuel cannister, so this was a big step to getting back on the road:
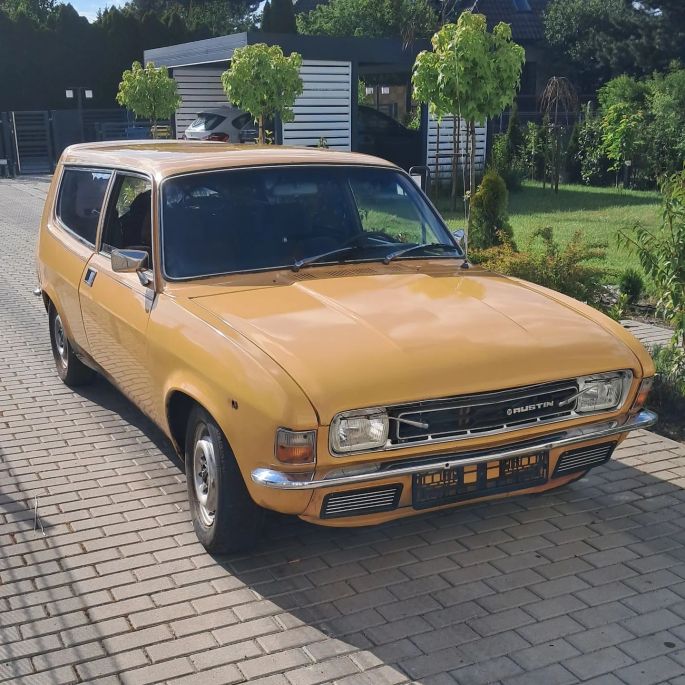
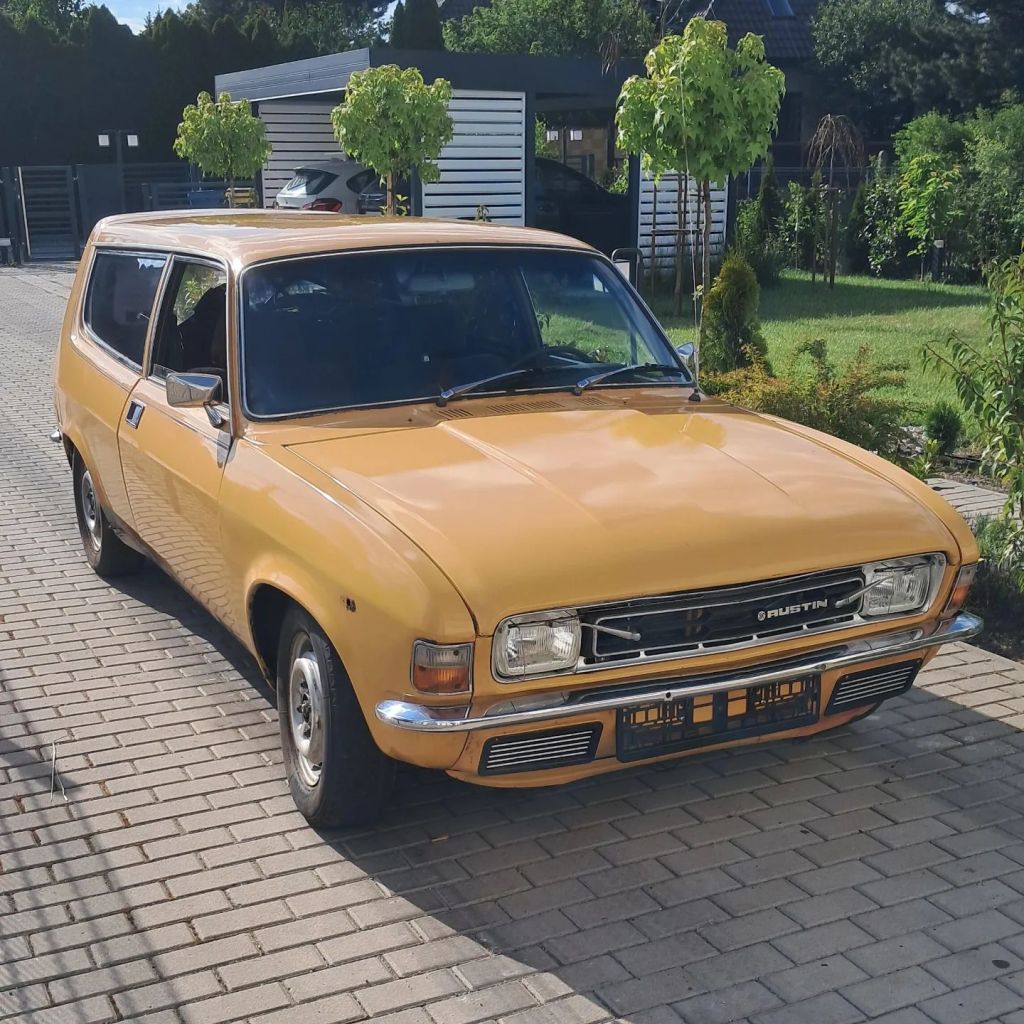
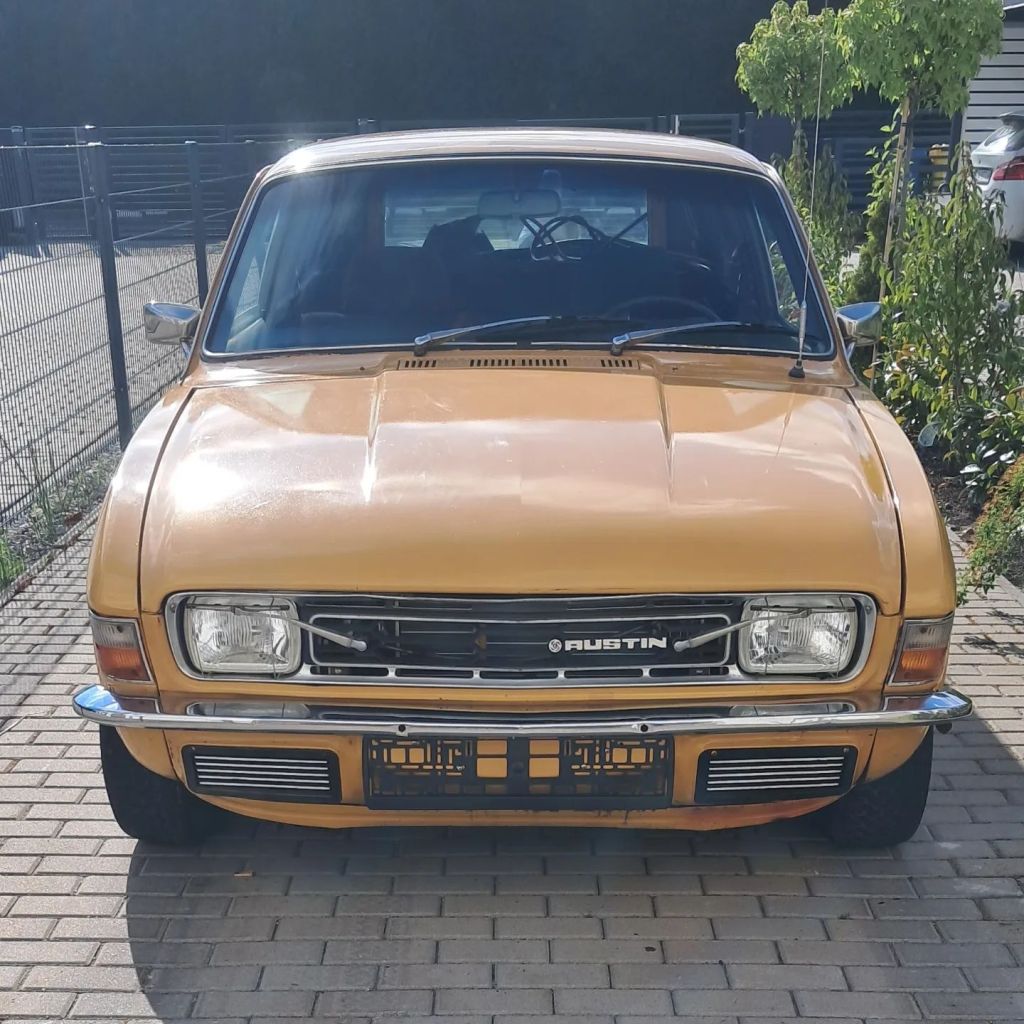
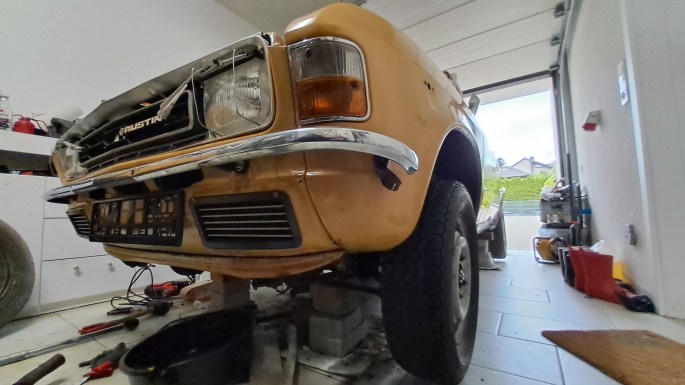
Getting to this stage was a lot of effort, so I’ve promised to only do fun and easy jobs for the next couple of months. The first job was to put the bonnet back on, clean the windows, vacuum the floor and seats, and give the bodywork a good rub down. Suddenly she looks like a real car again.
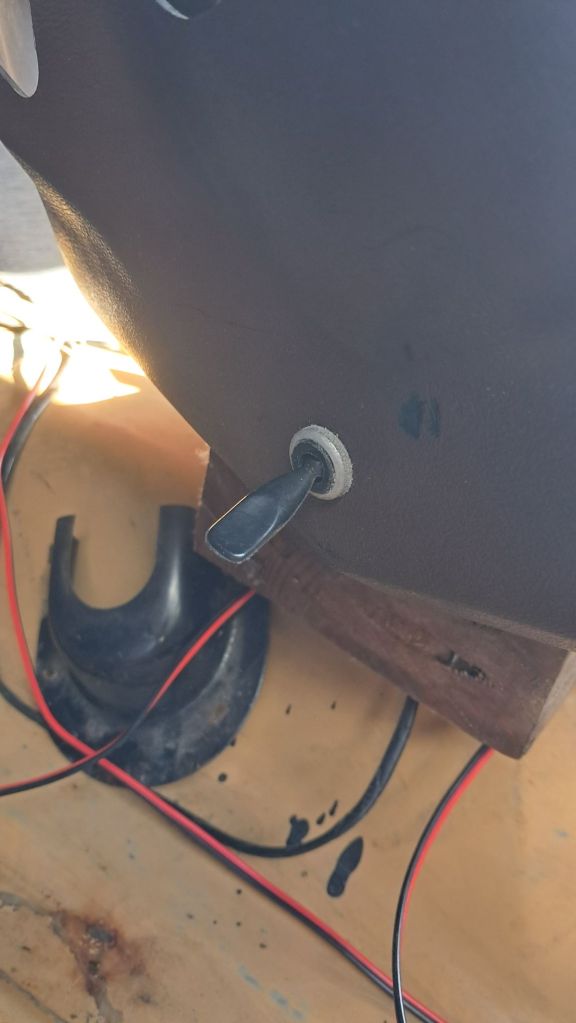
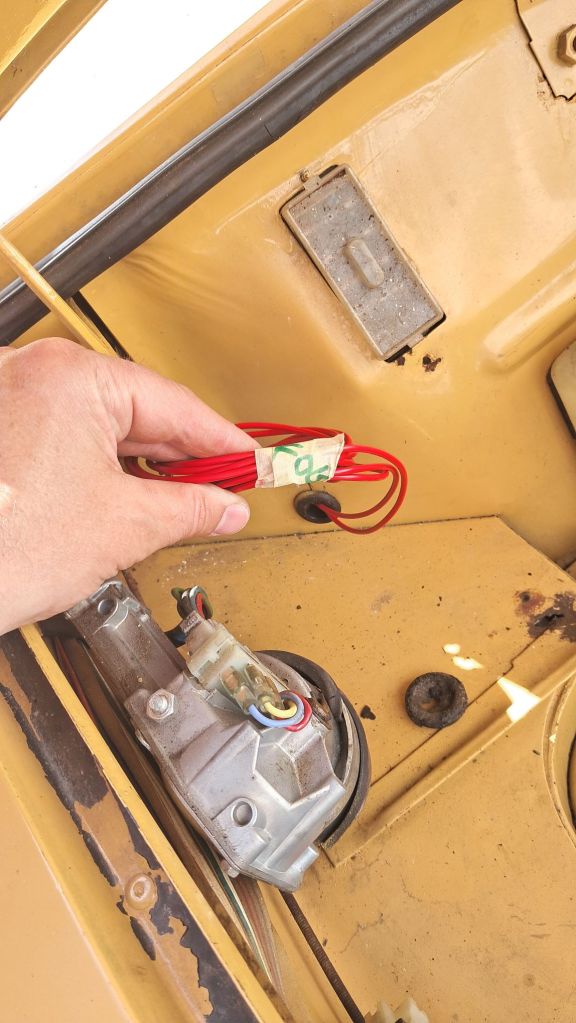
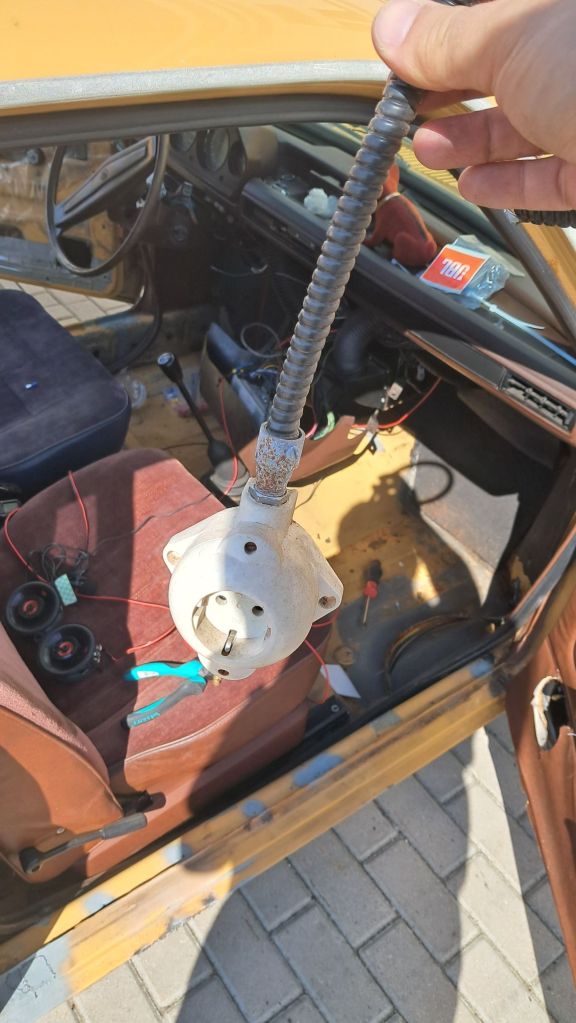
Note the two holes drilled into the front bumper just above the number plate holder. At some time in her history Agnetha sported a pair of bumper-mounted fog lights. Although they had been removed long ago, part of the wiring remained including a rather lovely 1970s style flip switch drilled into the side of the speaker housing. I plan to replace the fogs eventually, so I attached some new wiring to the switch and fed it through the bulkhead. At the same time I removed the ugly, horrible 240V plug socket that used to be paired with the blockheater. Nothing difficult and definitely very satisfying!
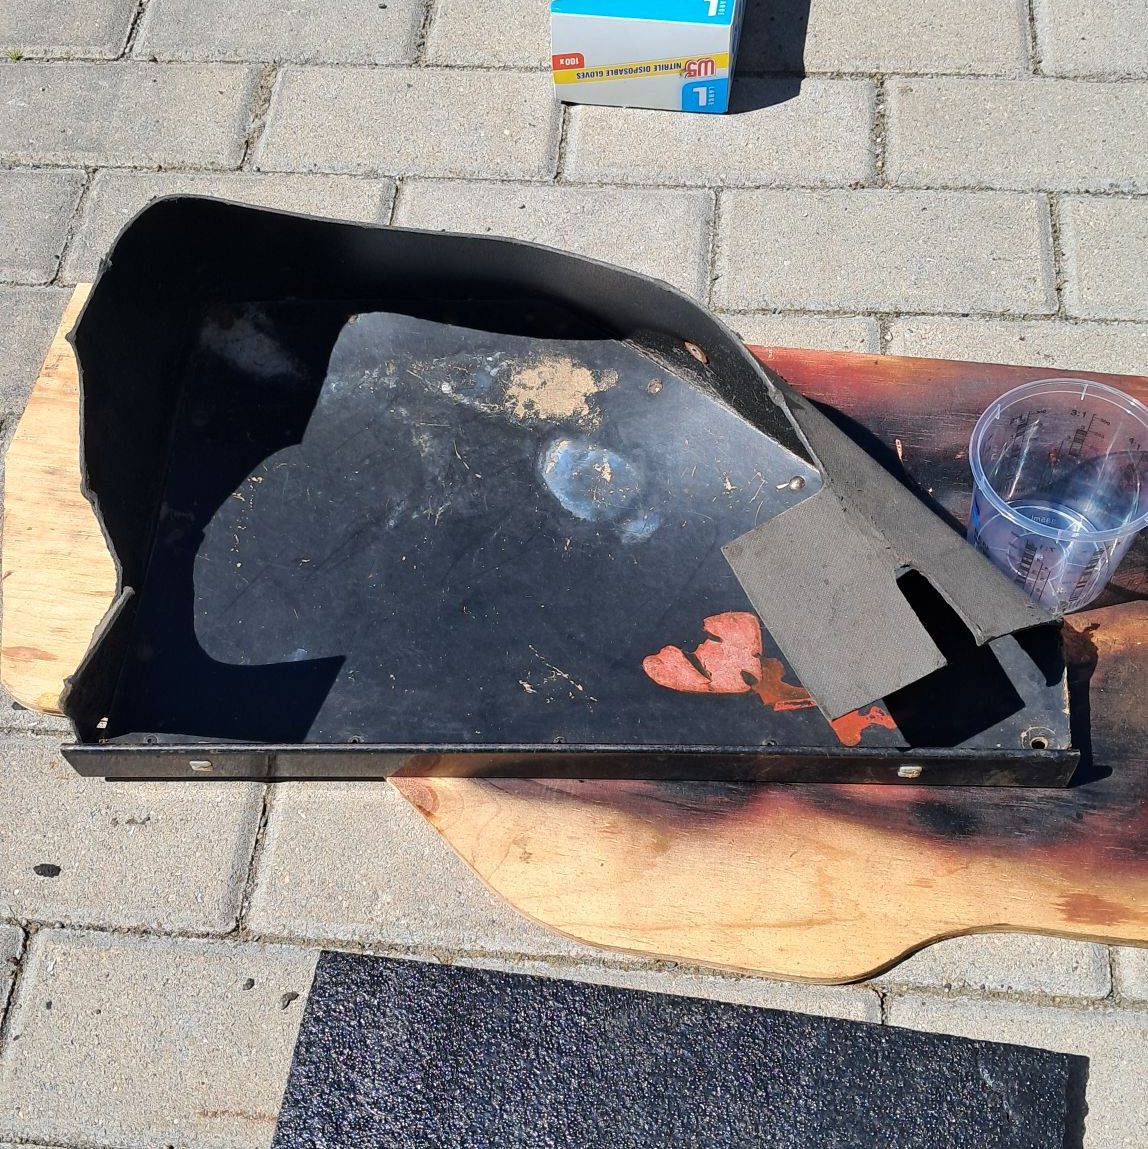
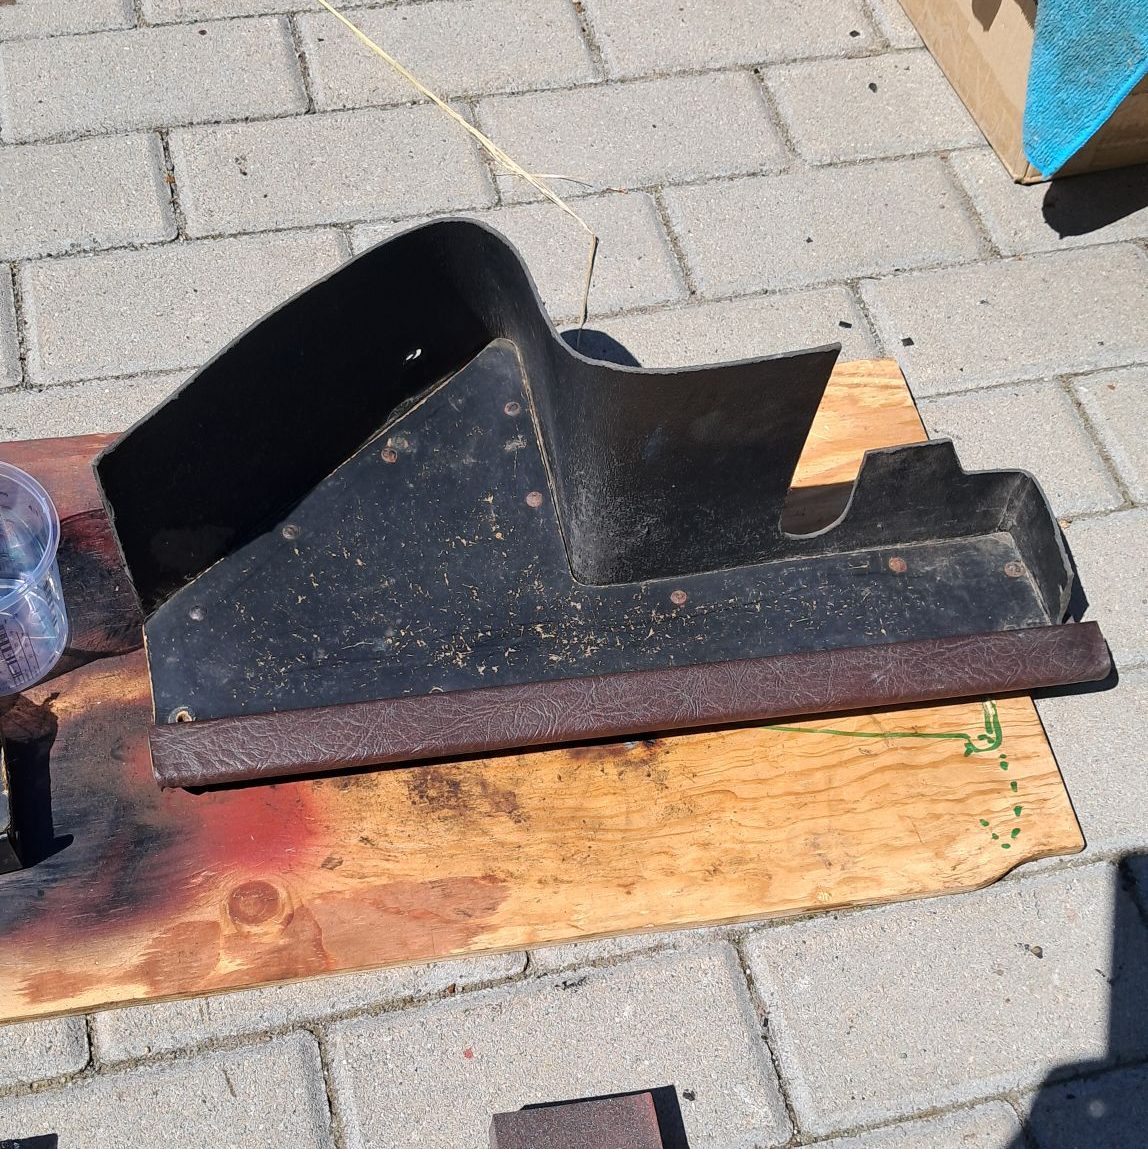
The glove box and funny little tray thing that goes under the steering wheel needed some attention. They are both made from that nasty fibre board shit and after 48 years had started to go a bit crumbly. So I gave them a good clean, painted them first with epoxy and then with a rattle can of mat black. This turned out quite nicely – I would certainly have less concern about putting my hand in there!
Before reinstalling these bad boys I’m having a think about where to install USB power and an override switch for the radiator fan. While testing Agnetha yesterday her temperature got into the red without the fan starting. Luckily she didn’t turn into a teapot. I’ve isolated the problem to the thermostatic switch in the Montego radiator – it just doesn’t want to close. Rather than replace the switch, at this stage I’d prefer to install an override circuit instead, since it’s something I’ve been planning to do all along. It gets hot here in the summer and we have big traffic jams, so I don’t want to be praying for the fan to come on.
I think half the problem with fixing cars is psychological. It’s important to not let it turn into a job, so you have to prioritise the fun, less important stuff occasionally. Particularly true as I’ve just found a load more welding that needs doing!
Agnetha has been stuck in the garage on the blocks since November when her driveshaft oil seals gave up. Fixing the seals snowballed into fixing (almost) everything else, specifically:
Rear drum brakes (new shoes and cylinders)
New port & starboard differential covers, bushes and seals
Replaced twisted starboard driveshaft
New CV joints all round
Ball joints and bearings re-greased
New brake lines
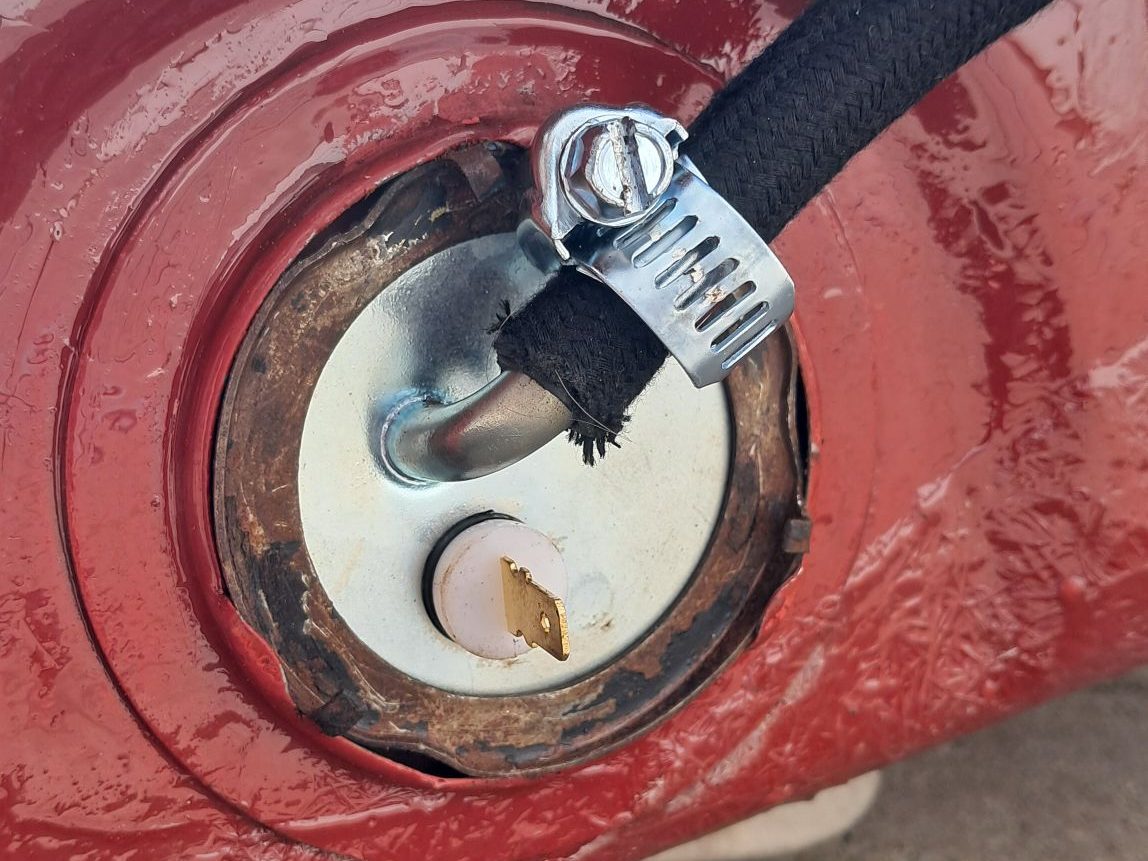
New fuel line
New Hydragas lines
New track-rod ends
Steering rack oiled
Sills welded
Boot welded
Floorpan welded
Fuel tank repaired
New fuel sender
Cross-tube de-rusted and painted
Upper front suspension swing arms de-rusted and painted
Getting the engine oil-tight again was more of a struggle than I expected due to the new reality of importing goods from the UK and the diff covers being out-of-stock, but we got there in the end and I made a video about it:
While there are still the not-so-minor issues of the brake master cylinder, front brake callipers and Hydragas displacer units being “INOP”, it’s time to get the wheels back on and run the engine up again. It does a car no good to sit on bricks, and Agnetha’s poor engine spent several months dry while the oil seals were fixed. The engine will eventually need a rebuild but if I can get her through a vehicle inspection without having to do that, it’ll make life a lot easier.
A few issues of note:
Bloody brakes
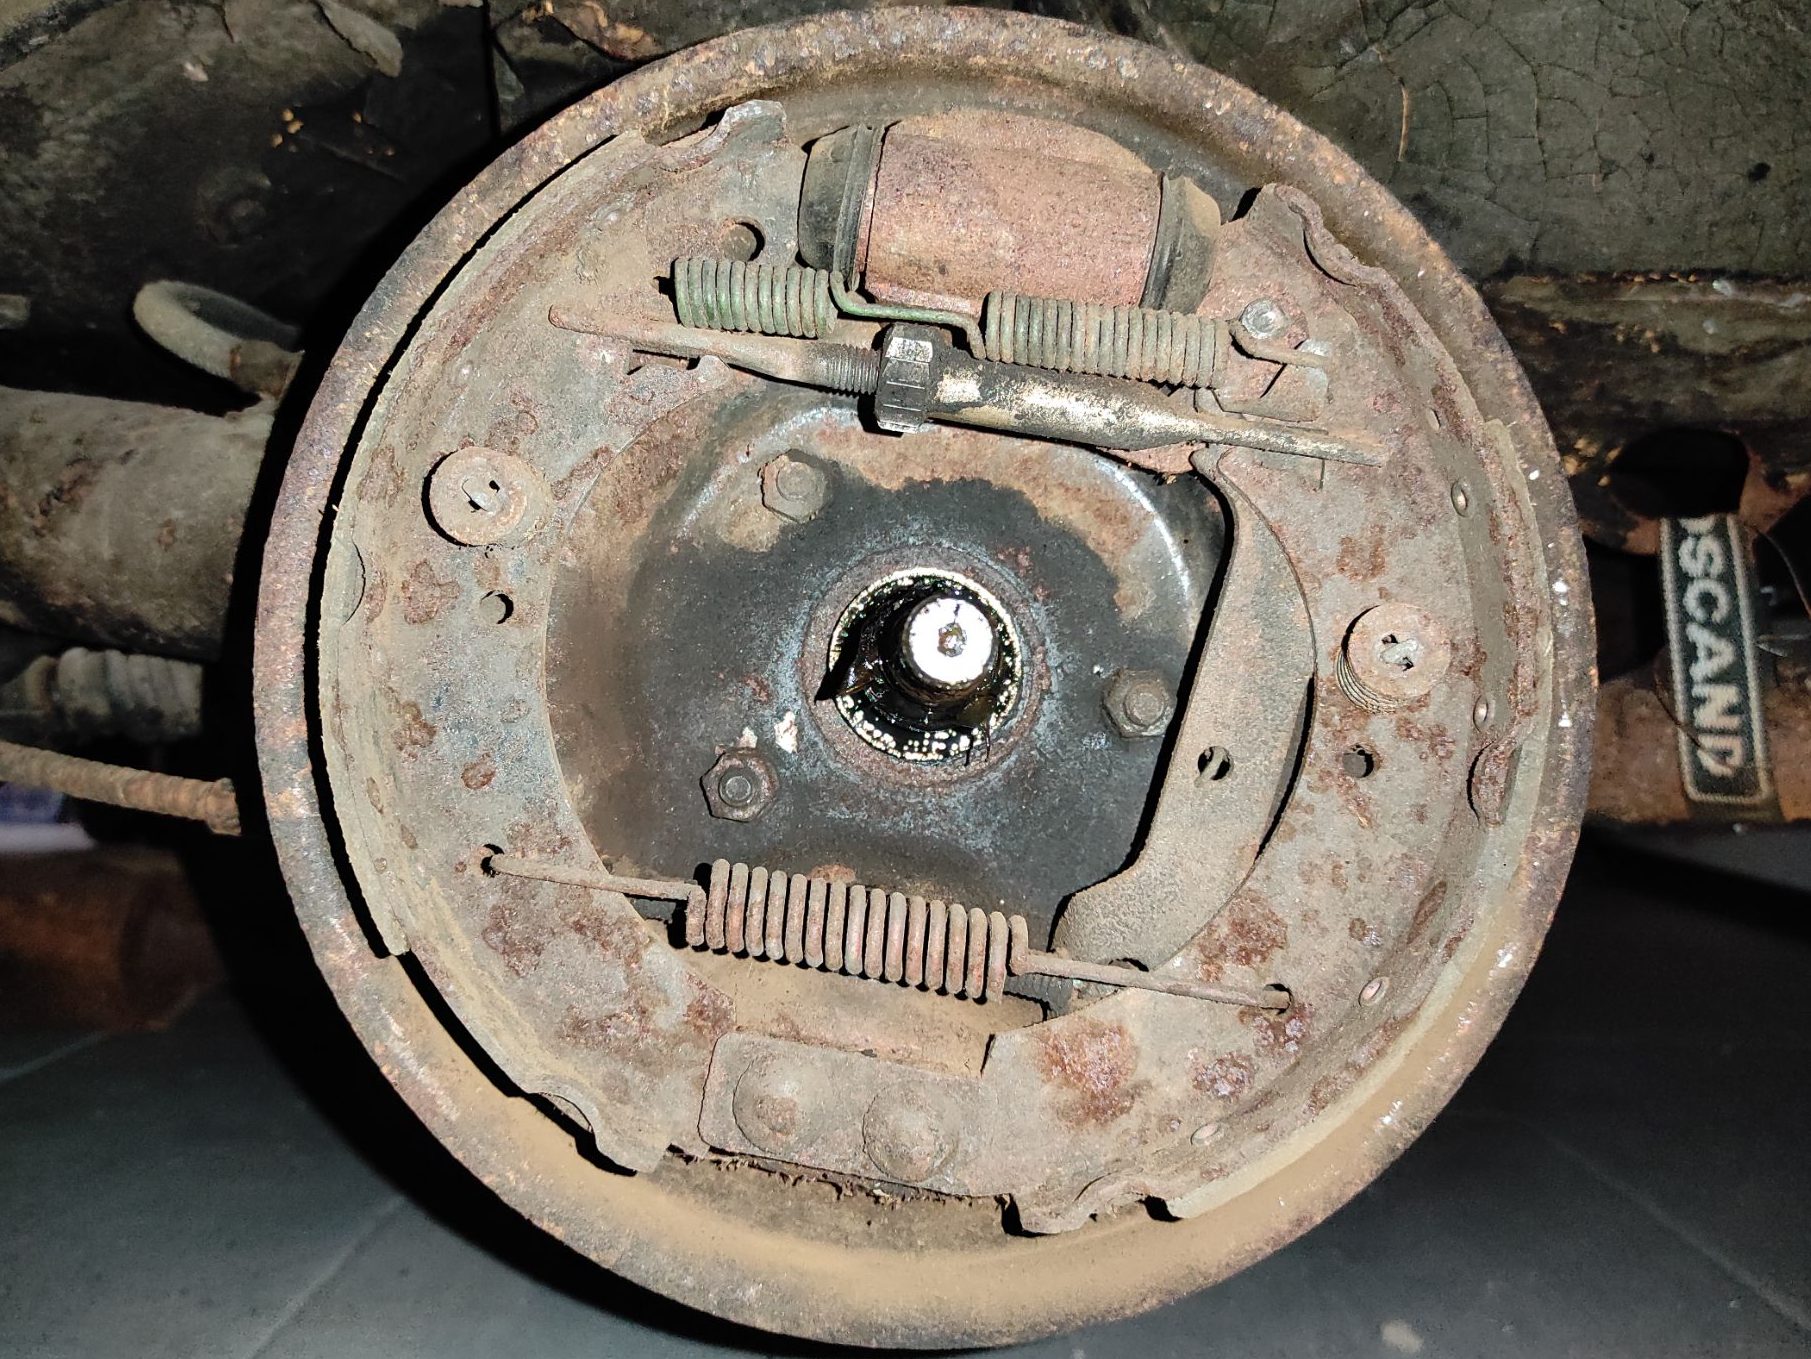
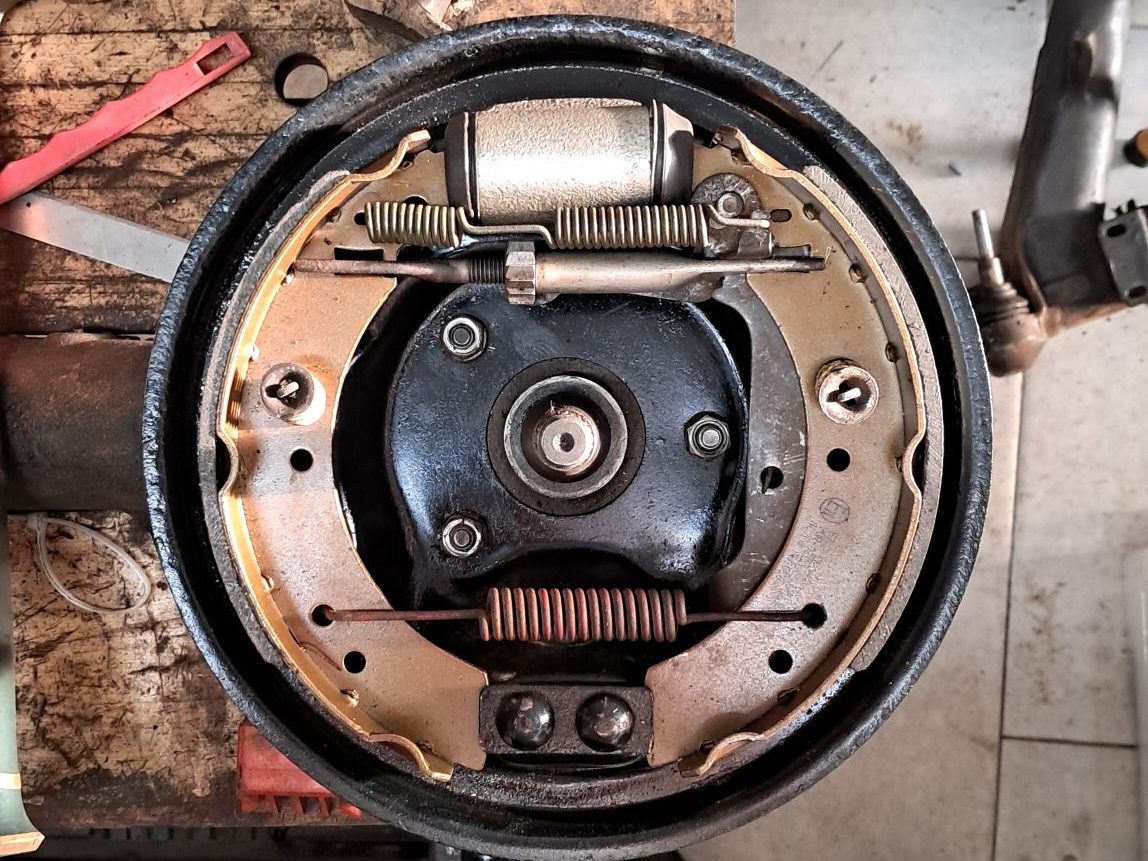
Ask any Allegro owner and they’ll tell you what a faff the brakes are, mainly due to lack of spares. The Swedish-specification Allegros are even worse because the rear drum brakes are not factory-standard and have more in common with Ford cars of the early 1970s, but don’t seem to belong to any particular model! I’ve tried to find out which parts are correct by asking owners in Sweden and other Scandinavian countries but the precise answer seems to be lost to time. I also tried to find out why they have different brakes but again, no-one seems to know for sure. There’s no regulatory requirement, unlike headlight wipers. The most believable argument I’ve heard is that BL Sweden simply had a job-lot of these brake components and retrofitted the Allegro in Sweden “because they could”. To be fair, the Swedish drum brake setup is a bit more sophisticated being fully enclosed with double-acting wheel cylinders and a self-adjustment mechanism. On the other hand I can’t imagine it delivers significantly better braking performance and, as I found out, it’s doubtful the self-adjusting mechanism is any substitute for just replacing the flipping shoes when they’re worn!
Drum brakes before and after.
In the end I was able to recondition the brakes by playing the Autodoc lottery and winning 2 sets of Ford Capri/Escort Mk1 1.3 shoes and a pair of Ford Consul/Cortina wheel cylinders. The cylinders fit perfectly, but the shoes needed a little “adjustment” with a hacksaw to fit the self-adjustment mechanism. Fitting the handbrake cable was also fun: Unlike on the standard Allegro, the cable is fed inside and hooks on to a lever within the drum itself. This involves wedging it behind the Red Spring of Death – looking back I think the cable should ideally be fitted before the spring. Oh well.
As for the front callipers, they’re ok but in need of new seals and pistons. Mercifully these are available but not cheap. Same goes for the discs, which should be replaced before we do any serious road trips.
BLOODY HYDRAGAS
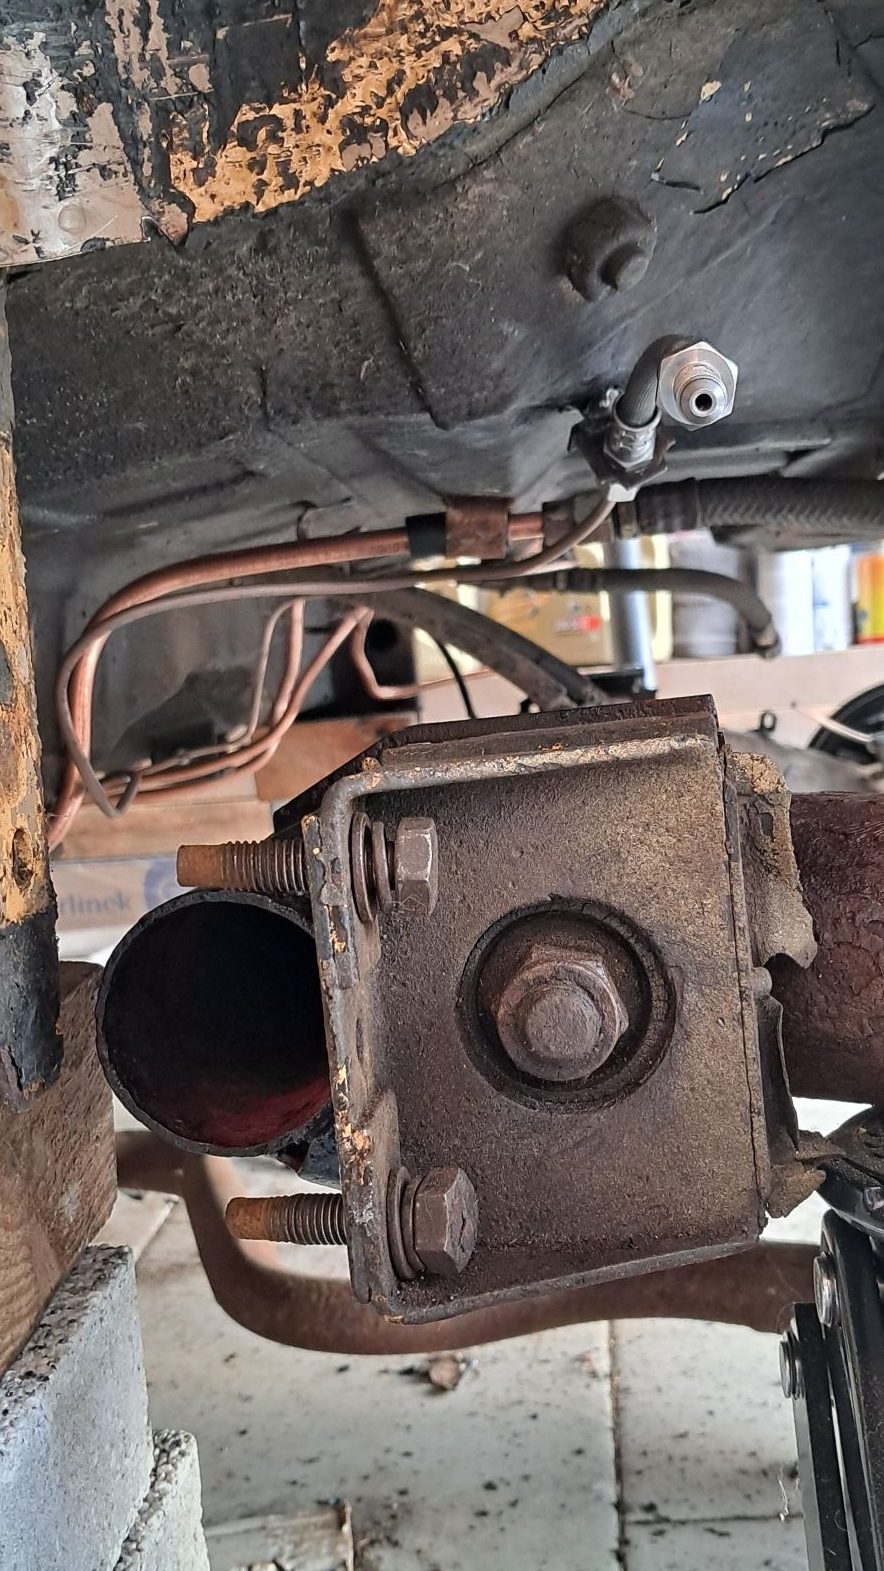
The Hydragas displacers are almost certainly toast, which is no surprise. The nitrogen gas in the displacers will slowly leak and they were originally designed to hold enough pressure over the car’s anticipated lifespan (15 years for the Allegro, which is pretty ambitious compared to most modern cars). This particular event horizon was already crossed in 1991 and I doubt the displacers are anything other than the factory-fitted original units. These days Hydragas displacers can be retrofitted with Schrader valves and re-gassed, but I think this isn’t the only issue with Agnetha’s displacers: As the gas pressure drops, the suspension is less able to absorb shock loading. The unions in the Hydragas fluid lines become overpressurized with every bump in the road and eventually begin to leak. As the fluid leaks, the ride height of the car goes down. Naturally the owner will want to pump the system back up, but apparently it was pretty common for garages to take one look at the spheres and default to “Citroën Mode” and pump the system up with LHM instead of the water-based fluid used in Hydragas suspension – they call this The Kiss of Death. The LHM dissolves the inner workings of the displacers, rendering them scrap. When I drained the fluid last year there was indeed some kind of brown water-oil mixture in the system, so I’m fairly sure they’ve been killed. But that’s a job for later in the year. For now we can manage with bump-stops (what’s left of them) instead of actual suspension.
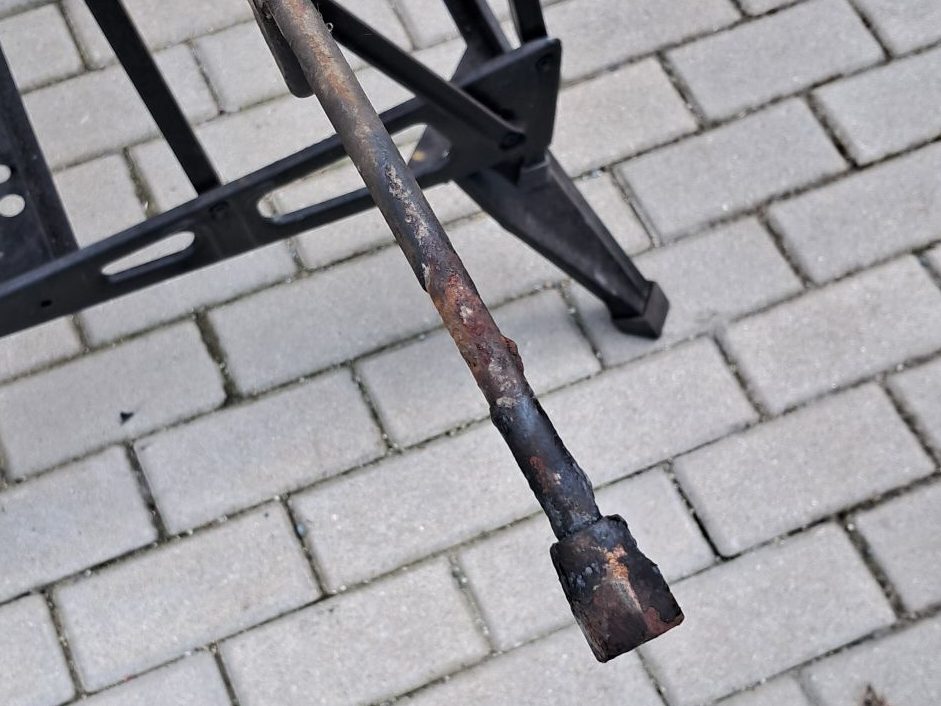
Making new Hydragas fluid lines.
As for the Hydragas lines, of course they were wrecked. Both sides had been crushed, presumably whenever the car was loaded on and off recovery trucks with deflated suspension and very little ground clearance. They were also perforated by corrosion and the starboard side had been bravely re-sectioned using fuel hose and no less than 4 hose clips (because high pressure!); I doubt that repair lasted very long. Mercifully the “goose necks” that are inside the engine bay and attach to the front displacers are in good condition, and the Schrader valves just needed a little cleaning. The damaged underfloor sections have been replaced with copper pipe and these will be attached later to the goose necks with compression fittings.
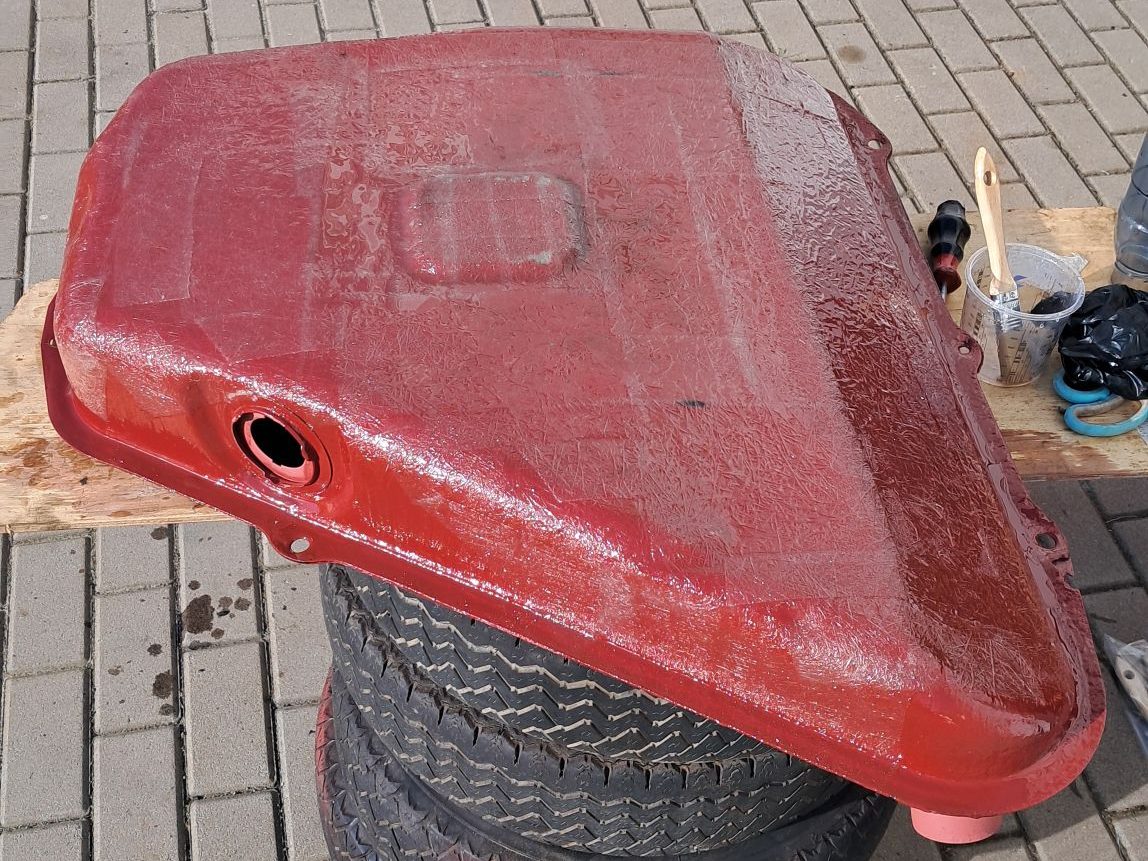
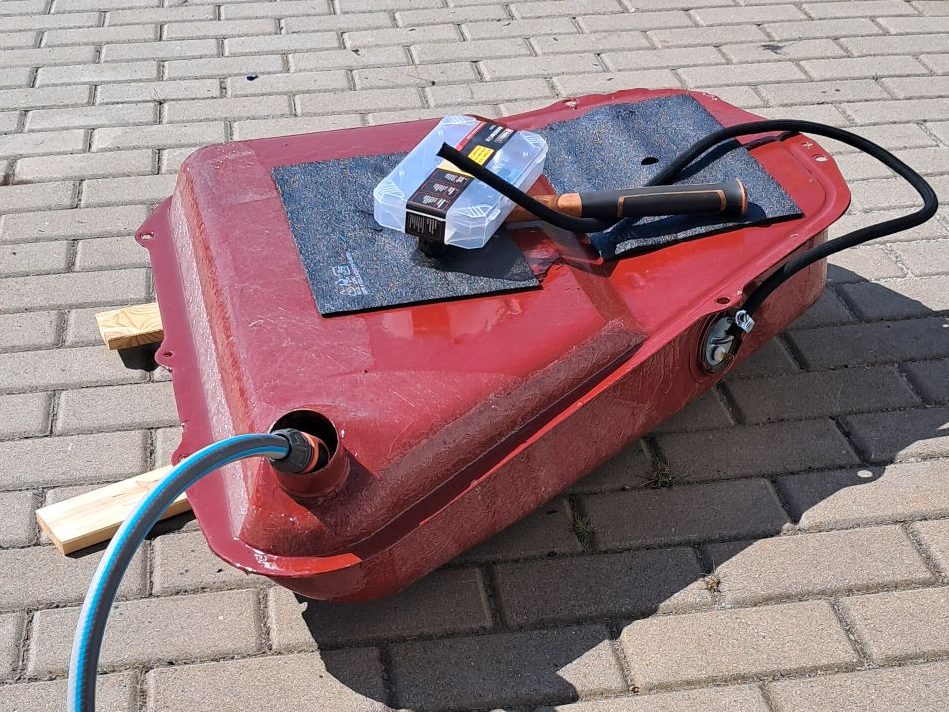
FUEL TANK SUCCESS
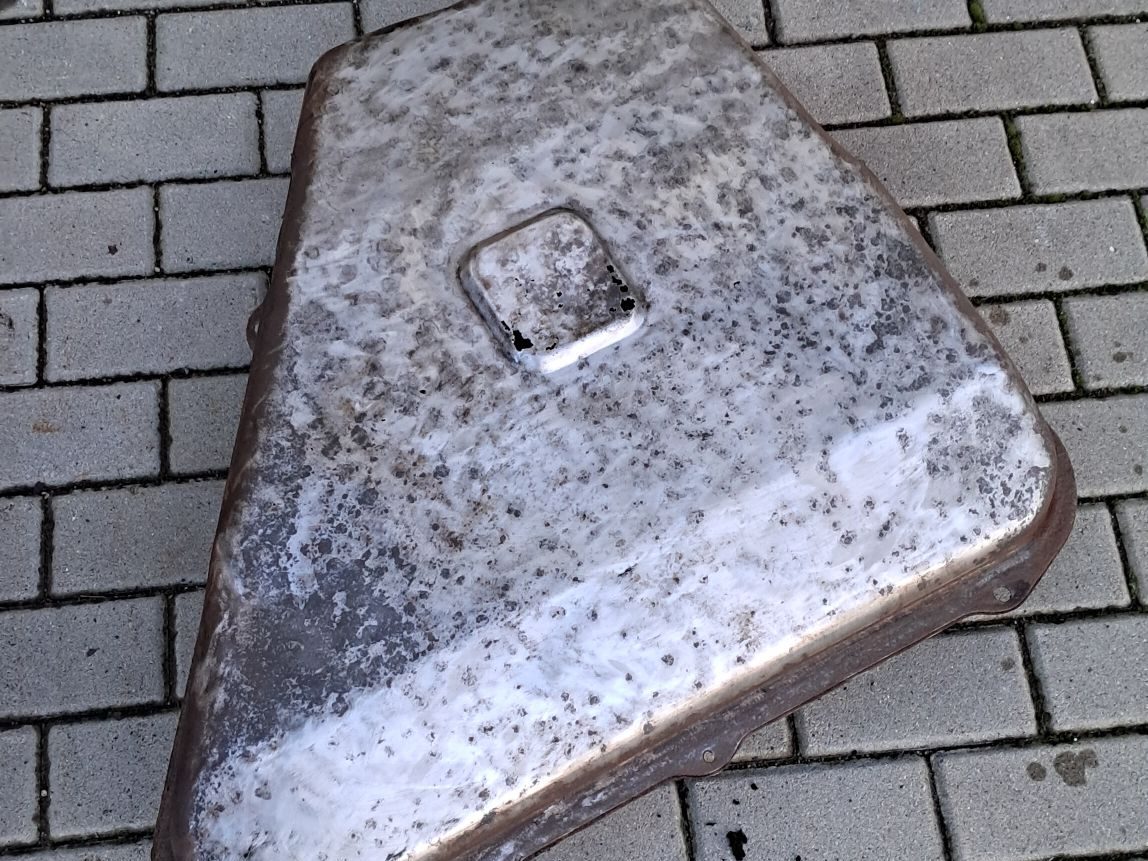
By the time I’d removed Agnetha’s tank and gone over it with the wirebrush it was doing a very good impression of a cheese grater. Allegro fuel tanks are pretty much unobtainium so it’s best to fix them if at all possible. I’m told they can be replaced with MGB fuel tanks which are the same shape and capacity but will ride quite a few centimeters closer to the ground. The tank was badly perforated on both the underside and top-side but was otherwise structurally very solid, especially around the sender fitting and seam, so I decided to try and fix it.
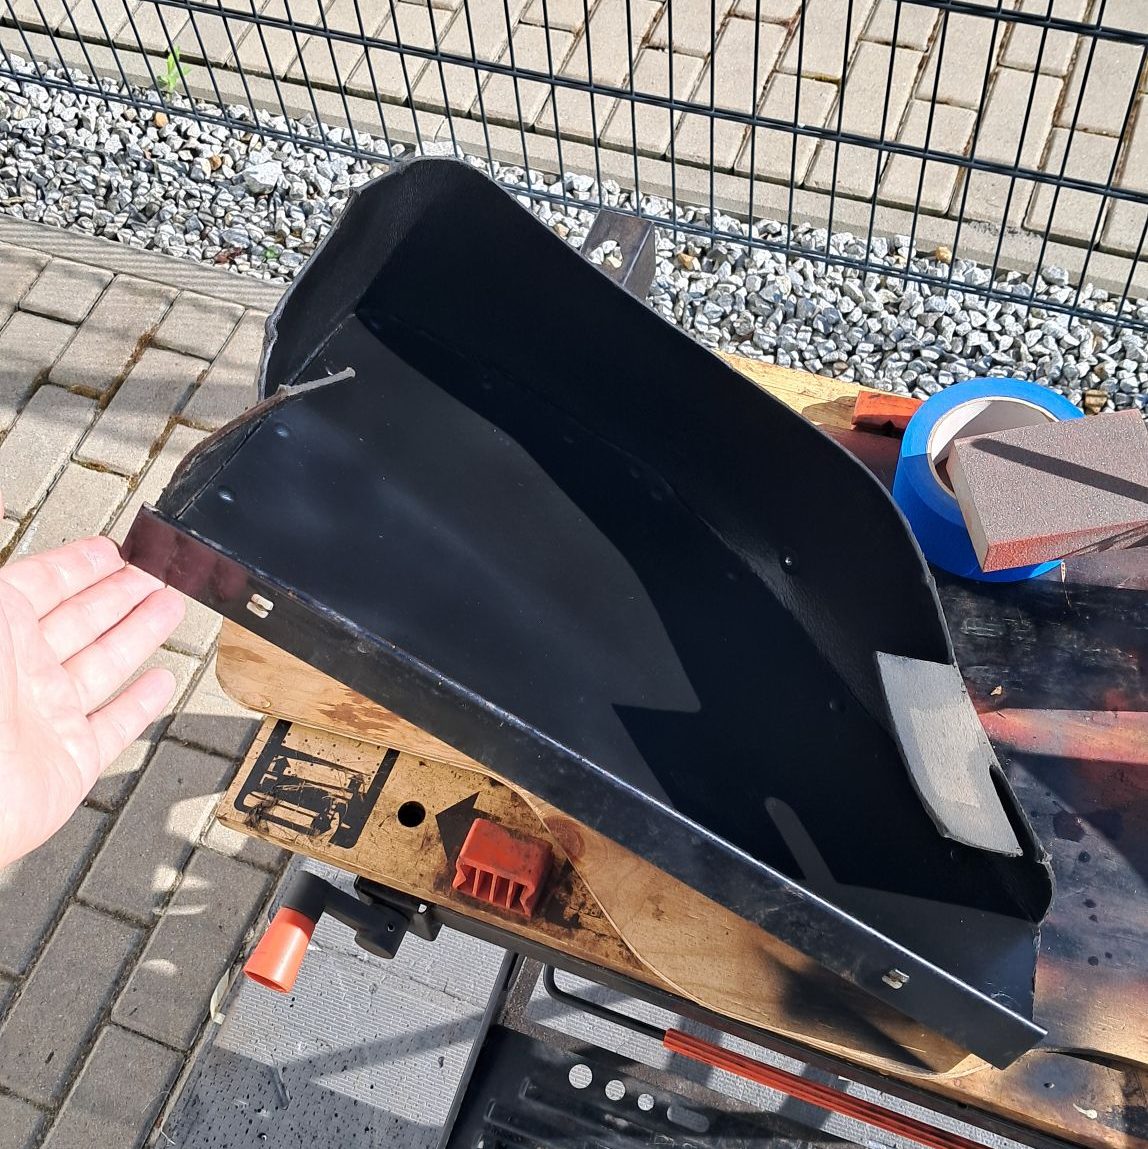
Repairing the fuel tank with fibreglass.
I wasn’t even going to attempt to weld it, so I did some research and decided to try fibreglassing instead. This has the advantage that it’s easy to do and results in a very strong and chemically-resistant repair. First of all I gave the tank a generous coating of red anticorrosion primer, and after putting on the final ply I gave it a quick sanding and painted it matt black.
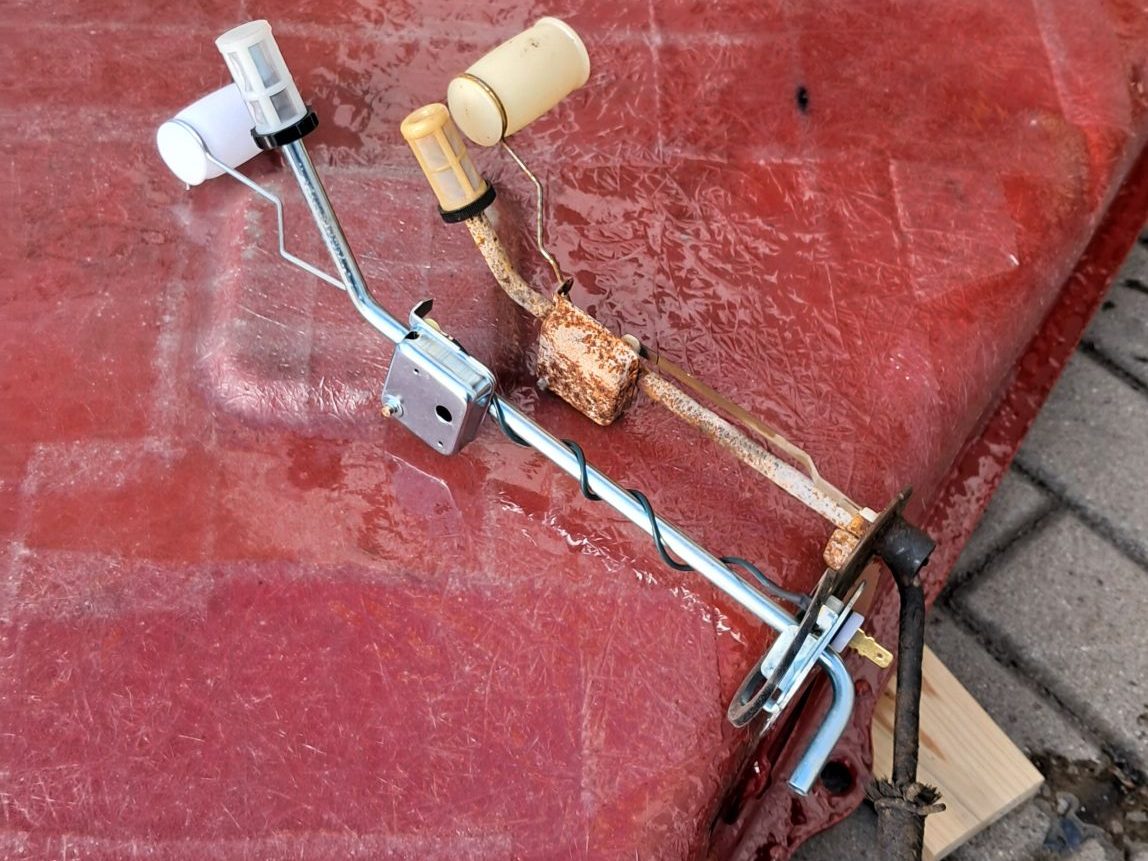
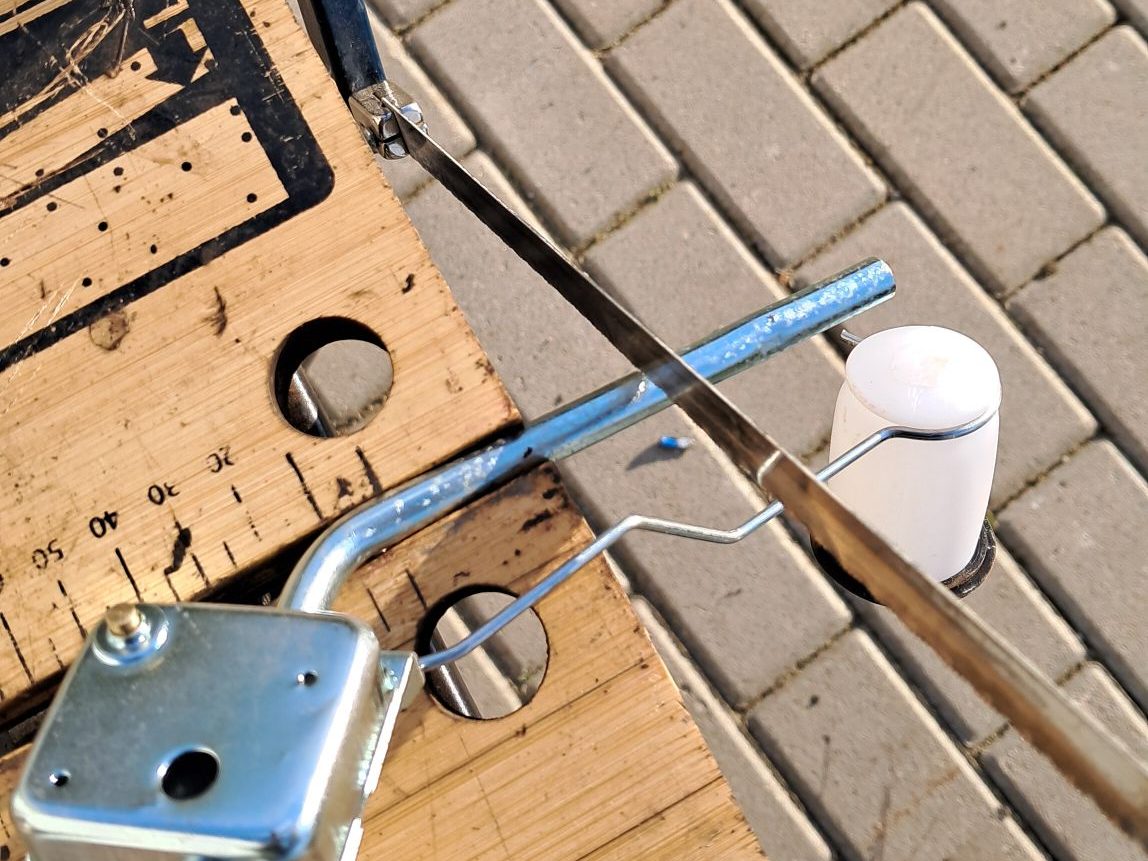
Fitting and testing the MGB fuel sender.
So what about the fuel sender? Of course they don’t exist either, unless you’ve replaced the tank with an MGB tank and they it’s simply a case of fitting an MGB sender. The recommended solution for a repaired Allegro tank is to get an MGB sender and – guess what – adjust it with a hacksaw! First the filter needs to be removed and 2 or 3 cm cut from the pipe; no problem. The tricky part is bending the wire on the level sensor float so that it a) still gives a reasonably accurate reading, b) still fits through the hole in the tank, c) doesn’t break the sensor while you’re mauling it. I did fall foul at (c) and ended up snapping some of the metal tabs that hold the casing together. This was fixed by carefully bending a strip of steel banding around the case, but not so tight as to crush it! I was relieved to get it inside the tank, see that the fuel level readings still made sense on the dashboard, and that it was water-tight.
Everything was a ball-ache
The repairs I made over the winter were one pain-in-the-ass after another, and I’ll be glad if I never have to do them again. Almost everything that could be awkward was very awkard, and everything that could be straightforward absolutely wasn’t. On the plus side most of the major structural and mechanical issues are now fixed. Besides, if it was easy someone else would have got her running years ago! The next time we run Agnetha (hopefully this month) she’ll be on her own fuel system for the first time in several decades; that’s quite a landmark. Assuming she still wants to run at all, the next jobs will be to get the timing done, set up the carb and try to figure out exactly what state the engine is in. Let’s hope the worst is now behind her!