
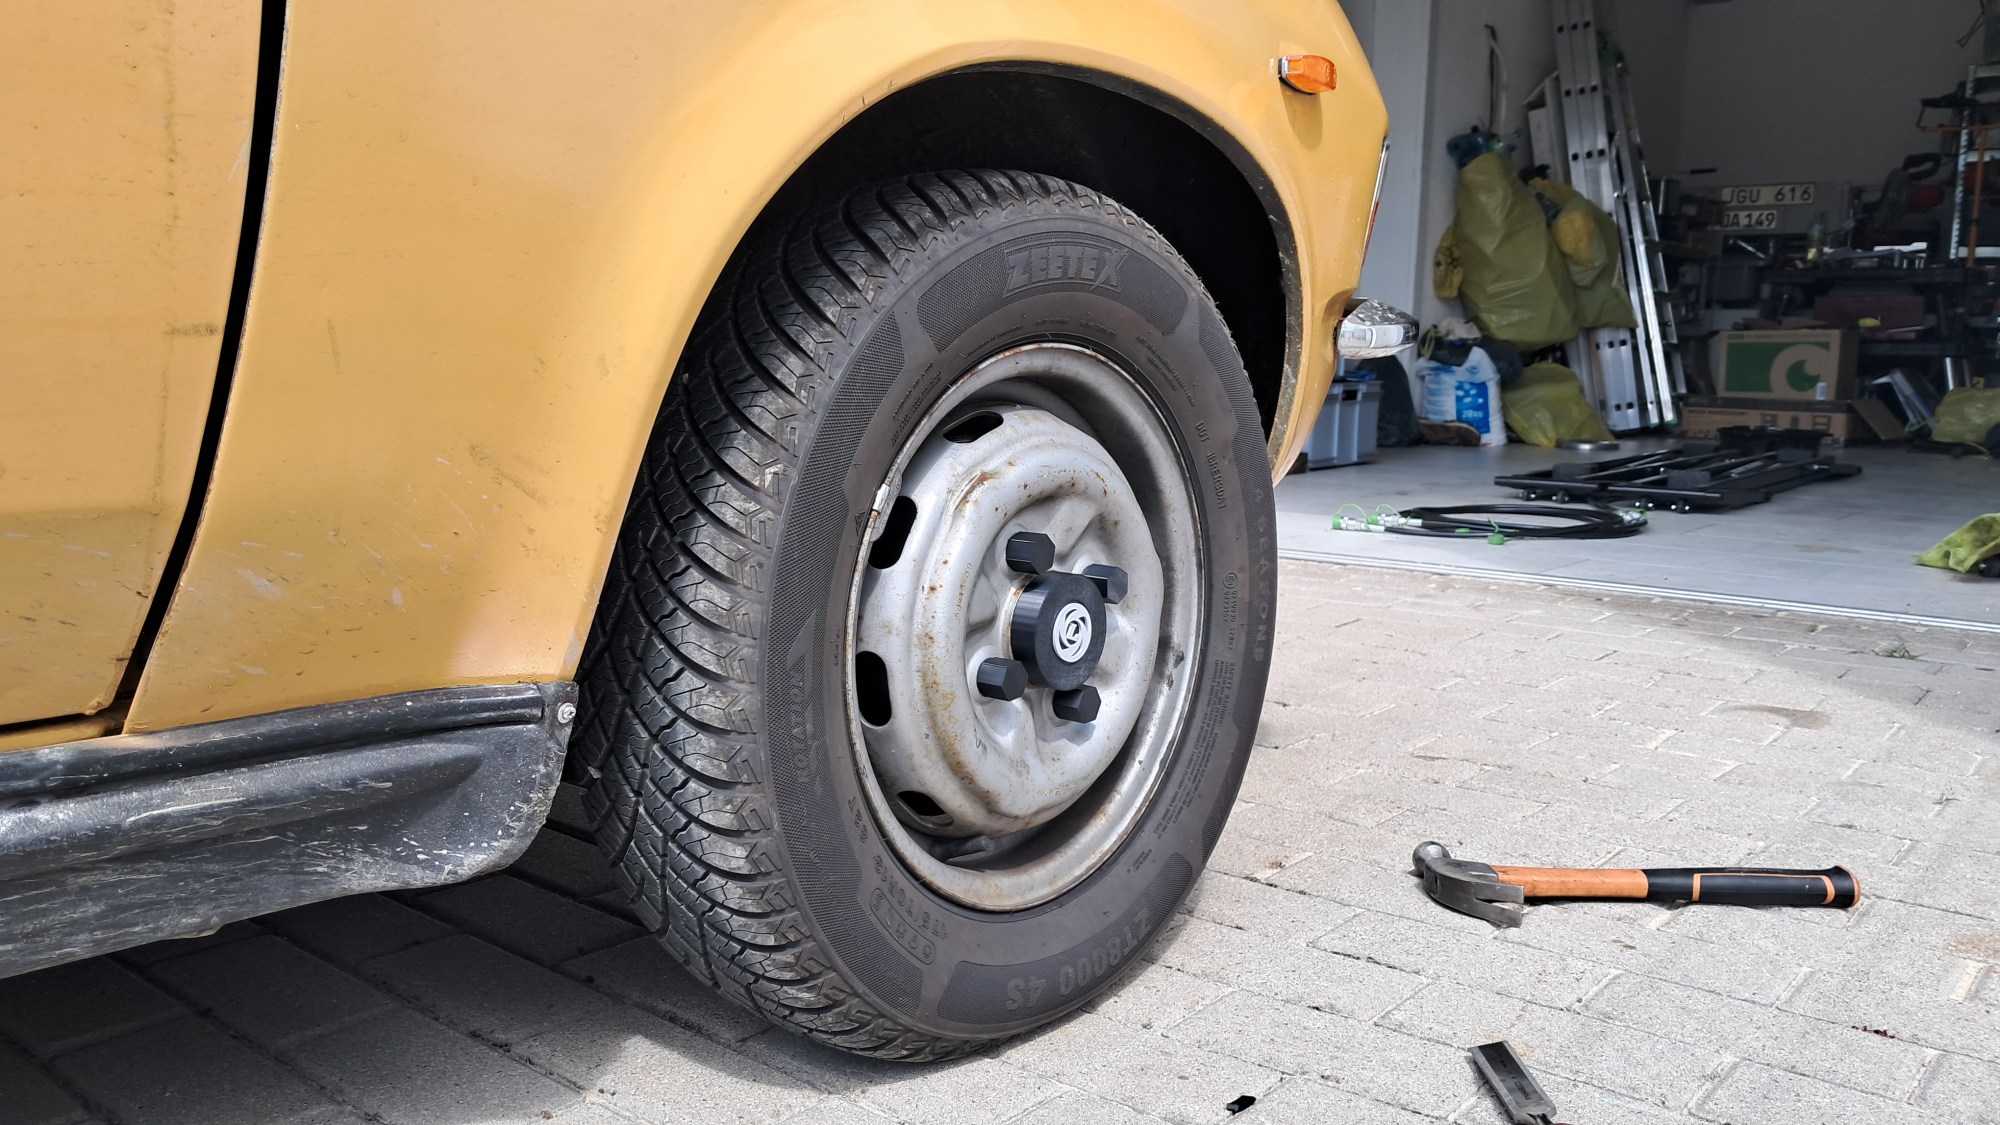
It’s not that I dislike the Allegro’s “flying saucer” hubcaps – they look pretty cool. I just dislike the fact that Agnetha only has two of them, and they are quite rusty. I also dislike how unobtainable they are, especially here on the continent, and the crazy prices they command if/when they do turn up even in poor condition. But she looks sad with only two hubcaps, so something needs to be done.
The nuclear option would be to buy a new set of wheel rims, and Minilite-style alloys are a popular choice for the Allegro. But again, finding the right size is never straightforward, and it’s always going to be an expensive option. Agnetha, being a Swedish-spec model, also has chunkier wheel rims than the UK models and there is not much arch clearance to play with, so the whole idea becomes quite risky; the arches are in really good condition and the last thing I want to do is shell out big money only to end up angle-grinding the arches.
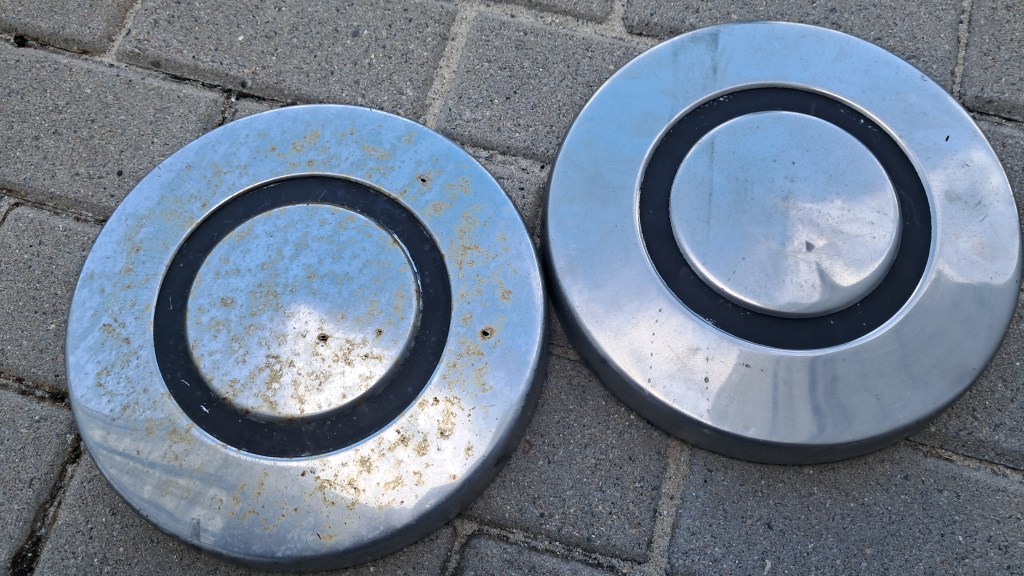
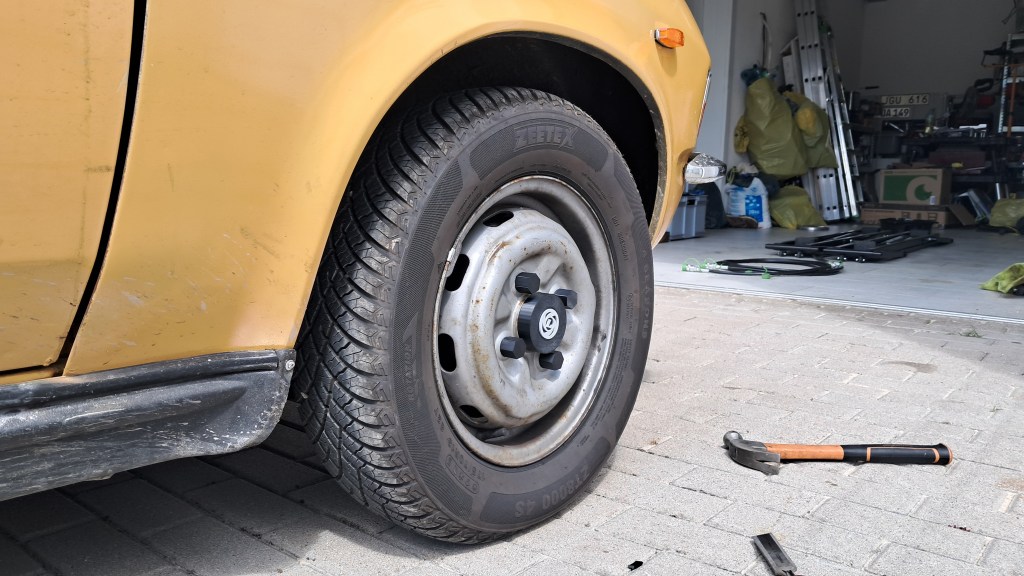
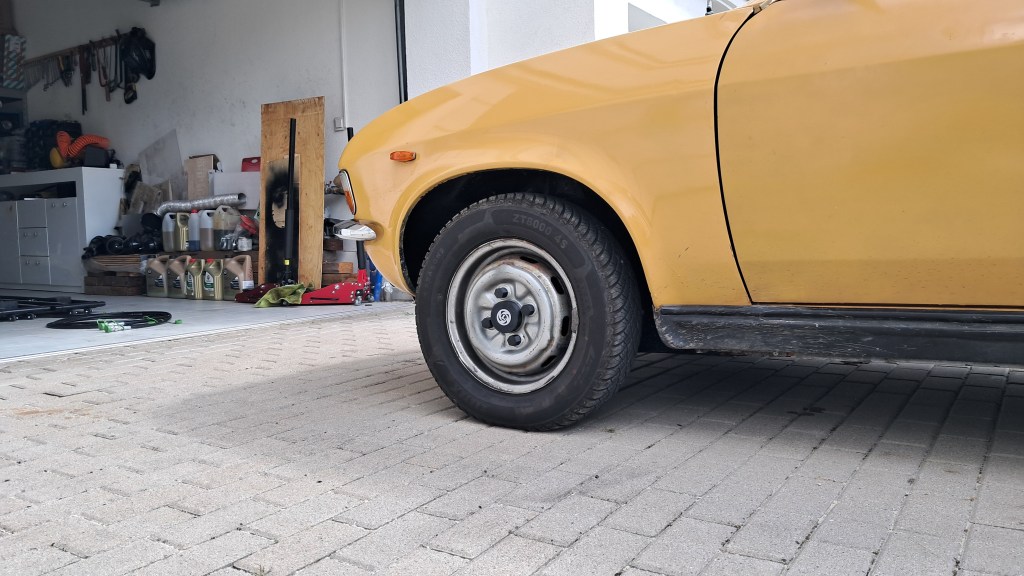
Besides, I think the steel rims Agnetha currently has are quite characterful and rugged-looking without the hubcaps. All that’s missing is a set of centre caps to hide and protect the CV joint nuts on the front wheels and the grease covers on the rear wheels. Unfortunately the only centre caps I could find that would fit were trailer bearing caps that were not the prettiest and, after I ordered them, it turned out the supplier was out of stock and sent just one unit, refunding me for the other three – a fairly typical dead end in Allegroland.
My thoughts turned to ordering some custom, 3D-printed centre caps and very quickly escalated to buying a printer outright. Printing used to be something of a dark art, and the emphasis seemed to be on messing around with the printers themselves as opposed to actual printing. This has changed over recent years, and it turns out there’s never been a better time to get into printing, with affordable, capable and user-friendly printers now available that work right out of the box. So I took the plunge on the current beginner-level printer of choice, the Bambu Lab A1 Mini, a workshop tool trolley for it to live on, a set of filaments and an all-important filament dryer.
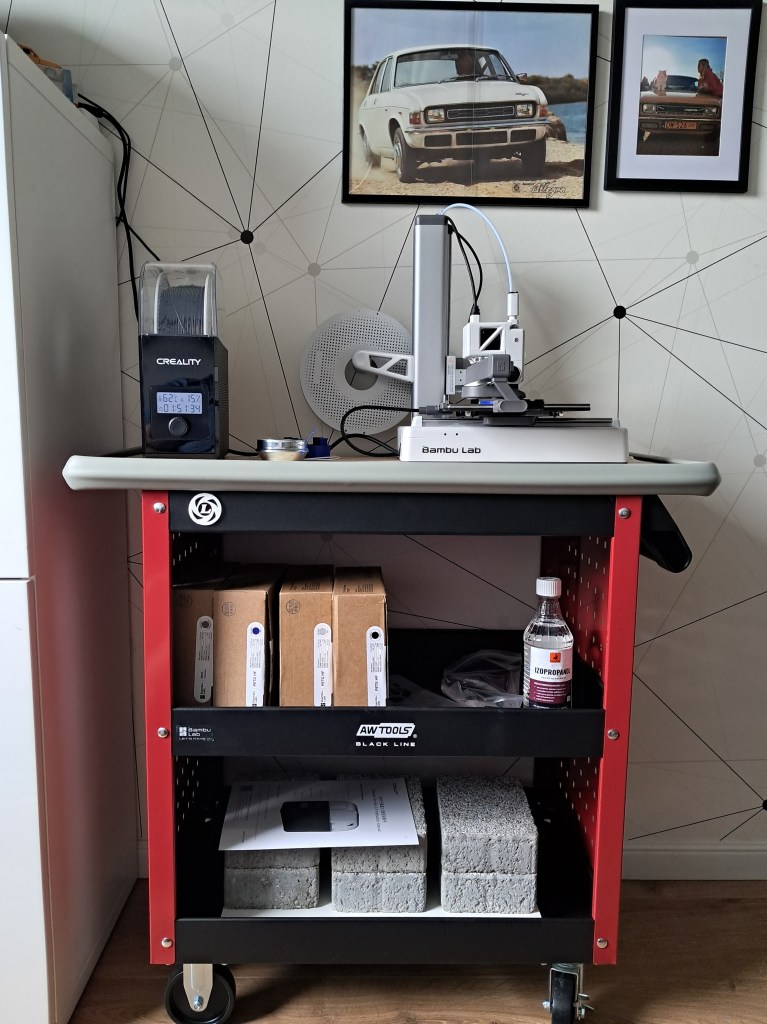
The tool trolley is ballasted with bricks on the bottom-shelf; the A1 mini being a “bed-slinger” which means there’s an awful lot of kinetic energy on that top shelf that needs to be absorbed somewhere, otherwise the trolly is going on walkabout! The default choice of filament is normally PLA but this is entirely unsuitable for automotive use, having a very low melting point and poor UV resistance. So I opted for PETG instead, which has a melting point around 80°C and improved UV resistance, although it does adsorb water and needs to be dried before printing, hence the filament dryer. It won’t last forever outside in the UV and weather, but I can simply re-print parts when they begin to look crazed, yellowed or have just pinged-off into a hedge somewhere at 90 kph.
In terms of designing the models, I spent about 30 minutes watching a CAD tutorial which seemed to involve nothing more than moving toolbars around and adjusting font sizes, so I quickly gave up on that and I dove into Tinkercad instead. Tinkercad still takes quite some getting used to but after about half an hour of clicking about I soon got the hang of it, and it should be more than good enough for knocking together trim for an old Allegro. Its party piece is a feature for importing vector graphics (.svg format) and turning them into 3D models automatically – this was how I got the British Leyland plug/arse-hole logo on my centre caps!
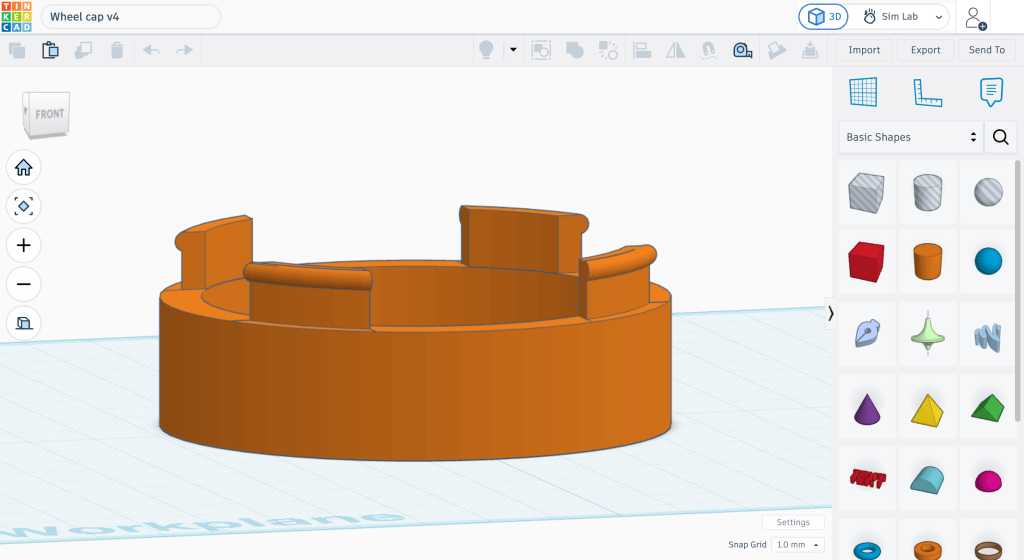
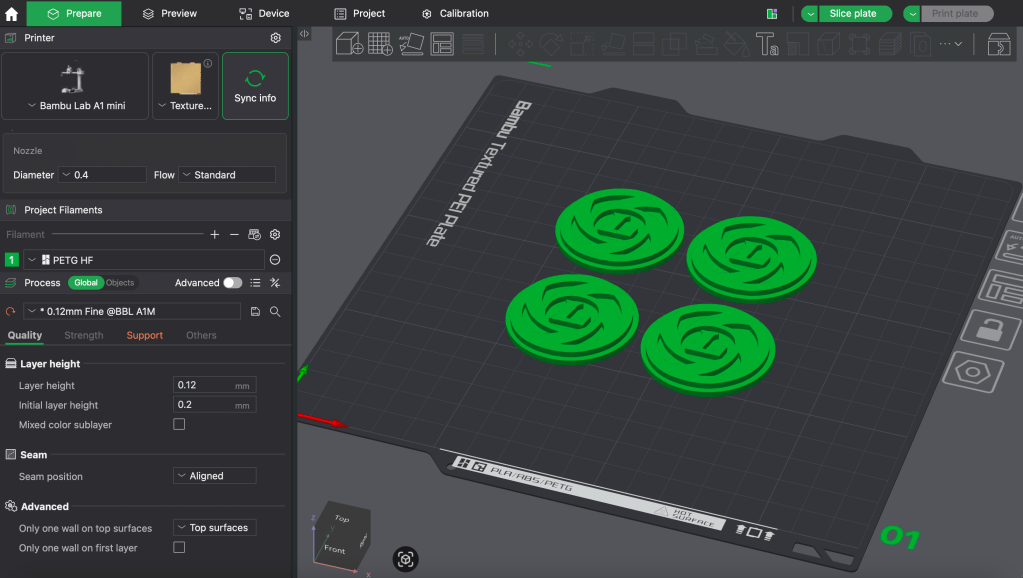
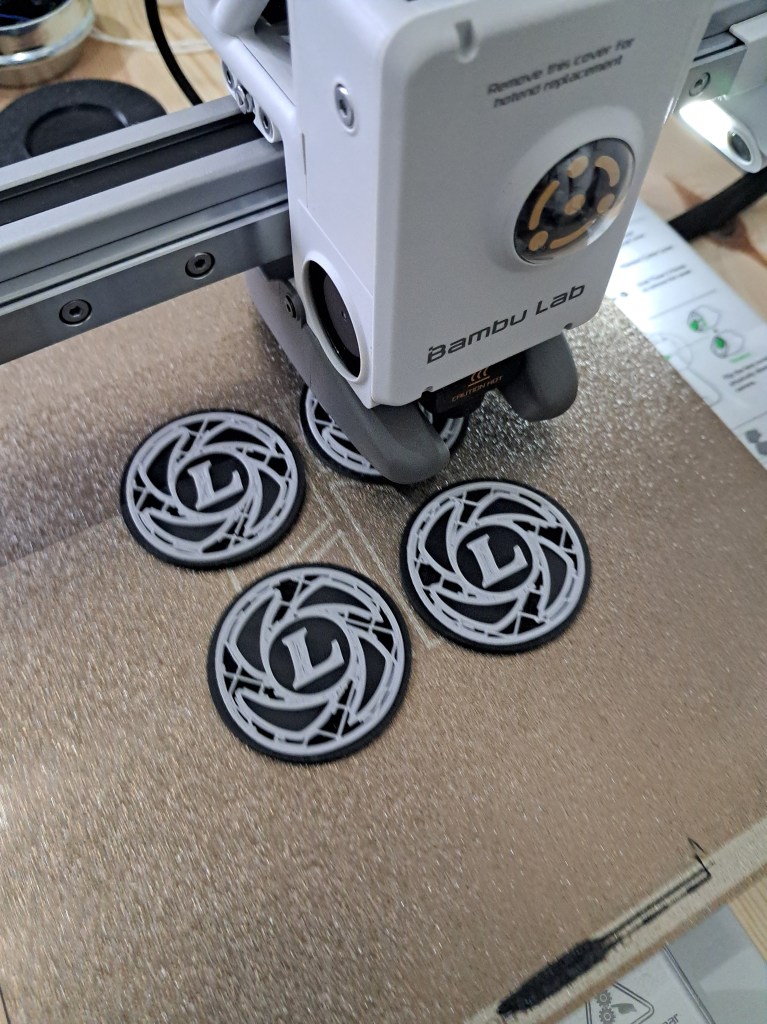
Having got to grips with the basics I set about prototyping the centre caps, based on some rough measurements I took of the wheel rim. The beauty of having a printer in-house is the freedom to get a rough model printed, check it for size, adjust the design and repeat until a good fit is achieved. With the prototype iterated a few times, I made a final prototype with the plughole logo and was ready for my first production run, which took all of Sunday to produce 4 centre caps with appropriate BL branding at a relaxed pace with very few balls-ups.
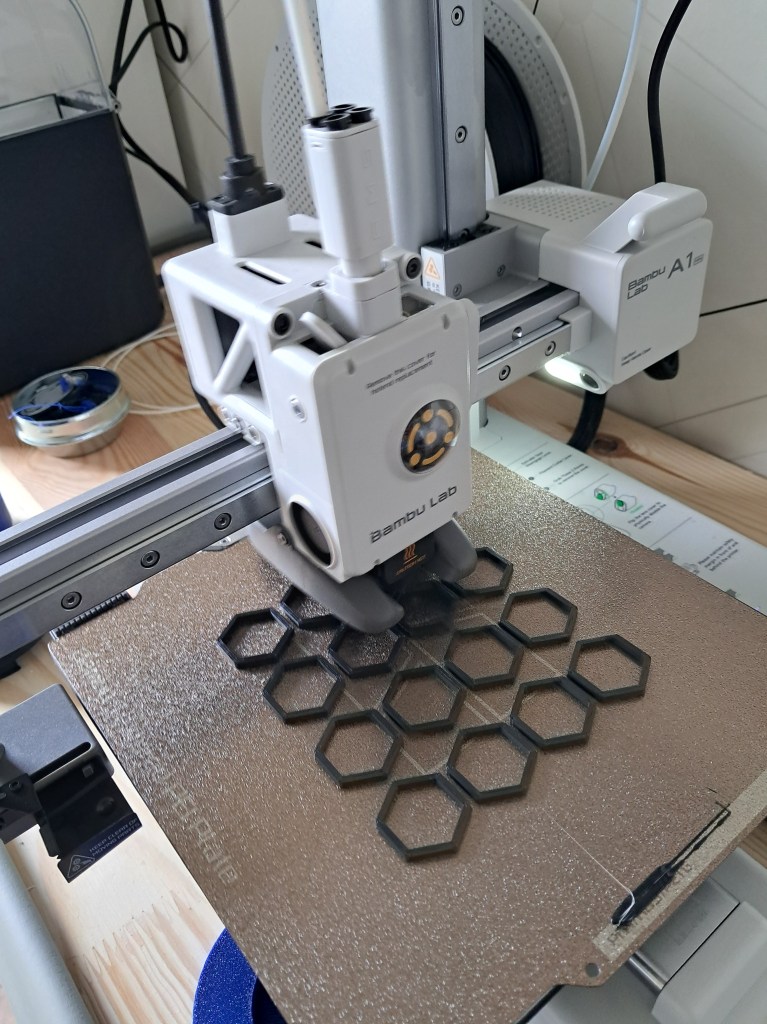
Speaking of balls-ups, not everything will print. The printer comes with some very powerful software, Bambu Studio, to set things up and “slice” the .STL export from Tinkercad into instructions for the printer. It does most things for you including checking for truly impossible shapes, but there is a whole world of shapes that are risky or challenging to get right, and finding your way around that world just comes down to experience.
The slicing process itself (automatically writing instructions for every move of the print head, bed, feed temperature, feed rate, etc.) is staggering in terms of complexity and speed. The first thing I realised is that solid forms are only a last resort, usually for surface finishing. Most of the time the printer goes to great lengths to build apparently solid components out of honeycombed structures and other hollow 3D patterns, saving weight, material and greatly increasing stiffness. It can also weave ceilings over surprisingly large distances, given a bit of luck, without the need for temporary scaffolding. It can design its own scaffolding, apparently, but so far I’ve stuff firmly to the default settings.
Having printed the centre caps and wheel nut covers, attention will now turn to the interior trim!
 Projekt Agnetha